Creating Tekton pipelines for Mobile Foundation
improve this page | report issueMobile Foundation in Cloud Pak for Apps is bundled with Tekton pipelines for automating common DevOps tasks related to Mobile Foundation.
The steps to deploy Mobile Foundation on OpenShift Container Platform (OCP) are the same irrespective of how you have obtained the OCP entitlement.
Prerequisites
Following are the prerequisites before you begin the process of installing Mobile Foundation instance using the Mobile Foundation Operator.
- Cloud Pak For Apps instance with Mobile Foundation installed.
- OpenShift CLI (
oc). - Tekton (available as part of Cloud Pak for Apps)
Tekton pipelines
Following Tekton Pipelines are available with Mobile Foundation on Cloud Pak for Apps.
- Mobile App Configuration Pipeline (mobile-app-registration-pipeline)
- Mobile App Build Pipeline for Android (mobile-app-build-android-pipeline)
- Mobile App Build Pipeline for iOS (mobile-app-build-ios-pipeline)
- Mobile App Distribution Pipeline (application-center-deploy)
- Mobile App Test Pipeline for Android (mobile-app-test-android-pipeline)
Steps for running the pipelines
- Download the PPA for Mobile Foundation.
- Extract the
IBM-MobileFoundation-Openshift-Pak-<version>.tar.gzfile. cdto the location of the extracted folder- Login to the Cloud Pak For Apps instance using the command below.
oc login --token=<access_token> --server=<server_instance>
NOTE: Make sure that you deploy the pipelines to the default namespace/project. Pipelines might fail to run in other namespaces due to permission issues.
Mobile App Configuration Pipeline
Execute the following command.
oc apply -f pipeline/mobile-app-registration -n <projectname>
Following is the output produced.
pipelineresource.tekton.dev/mobile-app-registration-git-resource created
pipeline.tekton.dev/mobile-app-registration-pipeline created
task.tekton.dev/mobile-app-registration-task created
Mobile App Build Pipeline for Android
Execute the following command to deploy the pipeline
oc apply -f pipeline/mobile-app-build-android -n <projectname>
Following is the output produced.
pipelineresource.tekton.dev/mobile-app-build-android-git-sresource created
pipeline.tekton.dev/mobile-app-build-android-pipeline created
task.tekton.dev/mobile-app-build-android-task created
Mobile App Build Pipeline for iOS
Prerequisites
You need to have a Xcode server setup on a publicly accessible Mac machine. Check the section Xcode server setup for building iOS apps.
Execute the following command once you have addressed the prerequisite.
oc apply -f pipeline/mobile-app-build-ios -n <projectname>
Following is the output produced.
pipeline.tekton.dev/mobile-app-build-ios-pipeline created
task.tekton.dev/mobile-app-build-ios-task created
pipelineresource.tekton.dev/mobile-app-build-ios-git-resource created
Mobile App Distribution Pipeline
Execute the following command.
oc apply -f pipeline/mobile-app-publish -n <projectname>
Following is the output produced.
pipelineresource.tekton.dev/appcenter-git-resource created
pipeline.tekton.dev/application-center-deploy created
task.tekton.dev/application-center-upload created
Mobile App Test Pipeline for Android
Prerequisites
For running the android application test pipeline you need to have a BitBar account with API key, device ID, framework ID and project ID.
Execute the following command.
oc apply -f pipeline/mobile-app-test-android -n <projectname>
Following is the output produced.
pipelineresource.tekton.dev/mobile-app-test-android-git-resource created
pipeline.tekton.dev/mobile-app-test-android-pipeline created
task.tekton.dev/mobile-app-test-android-task created
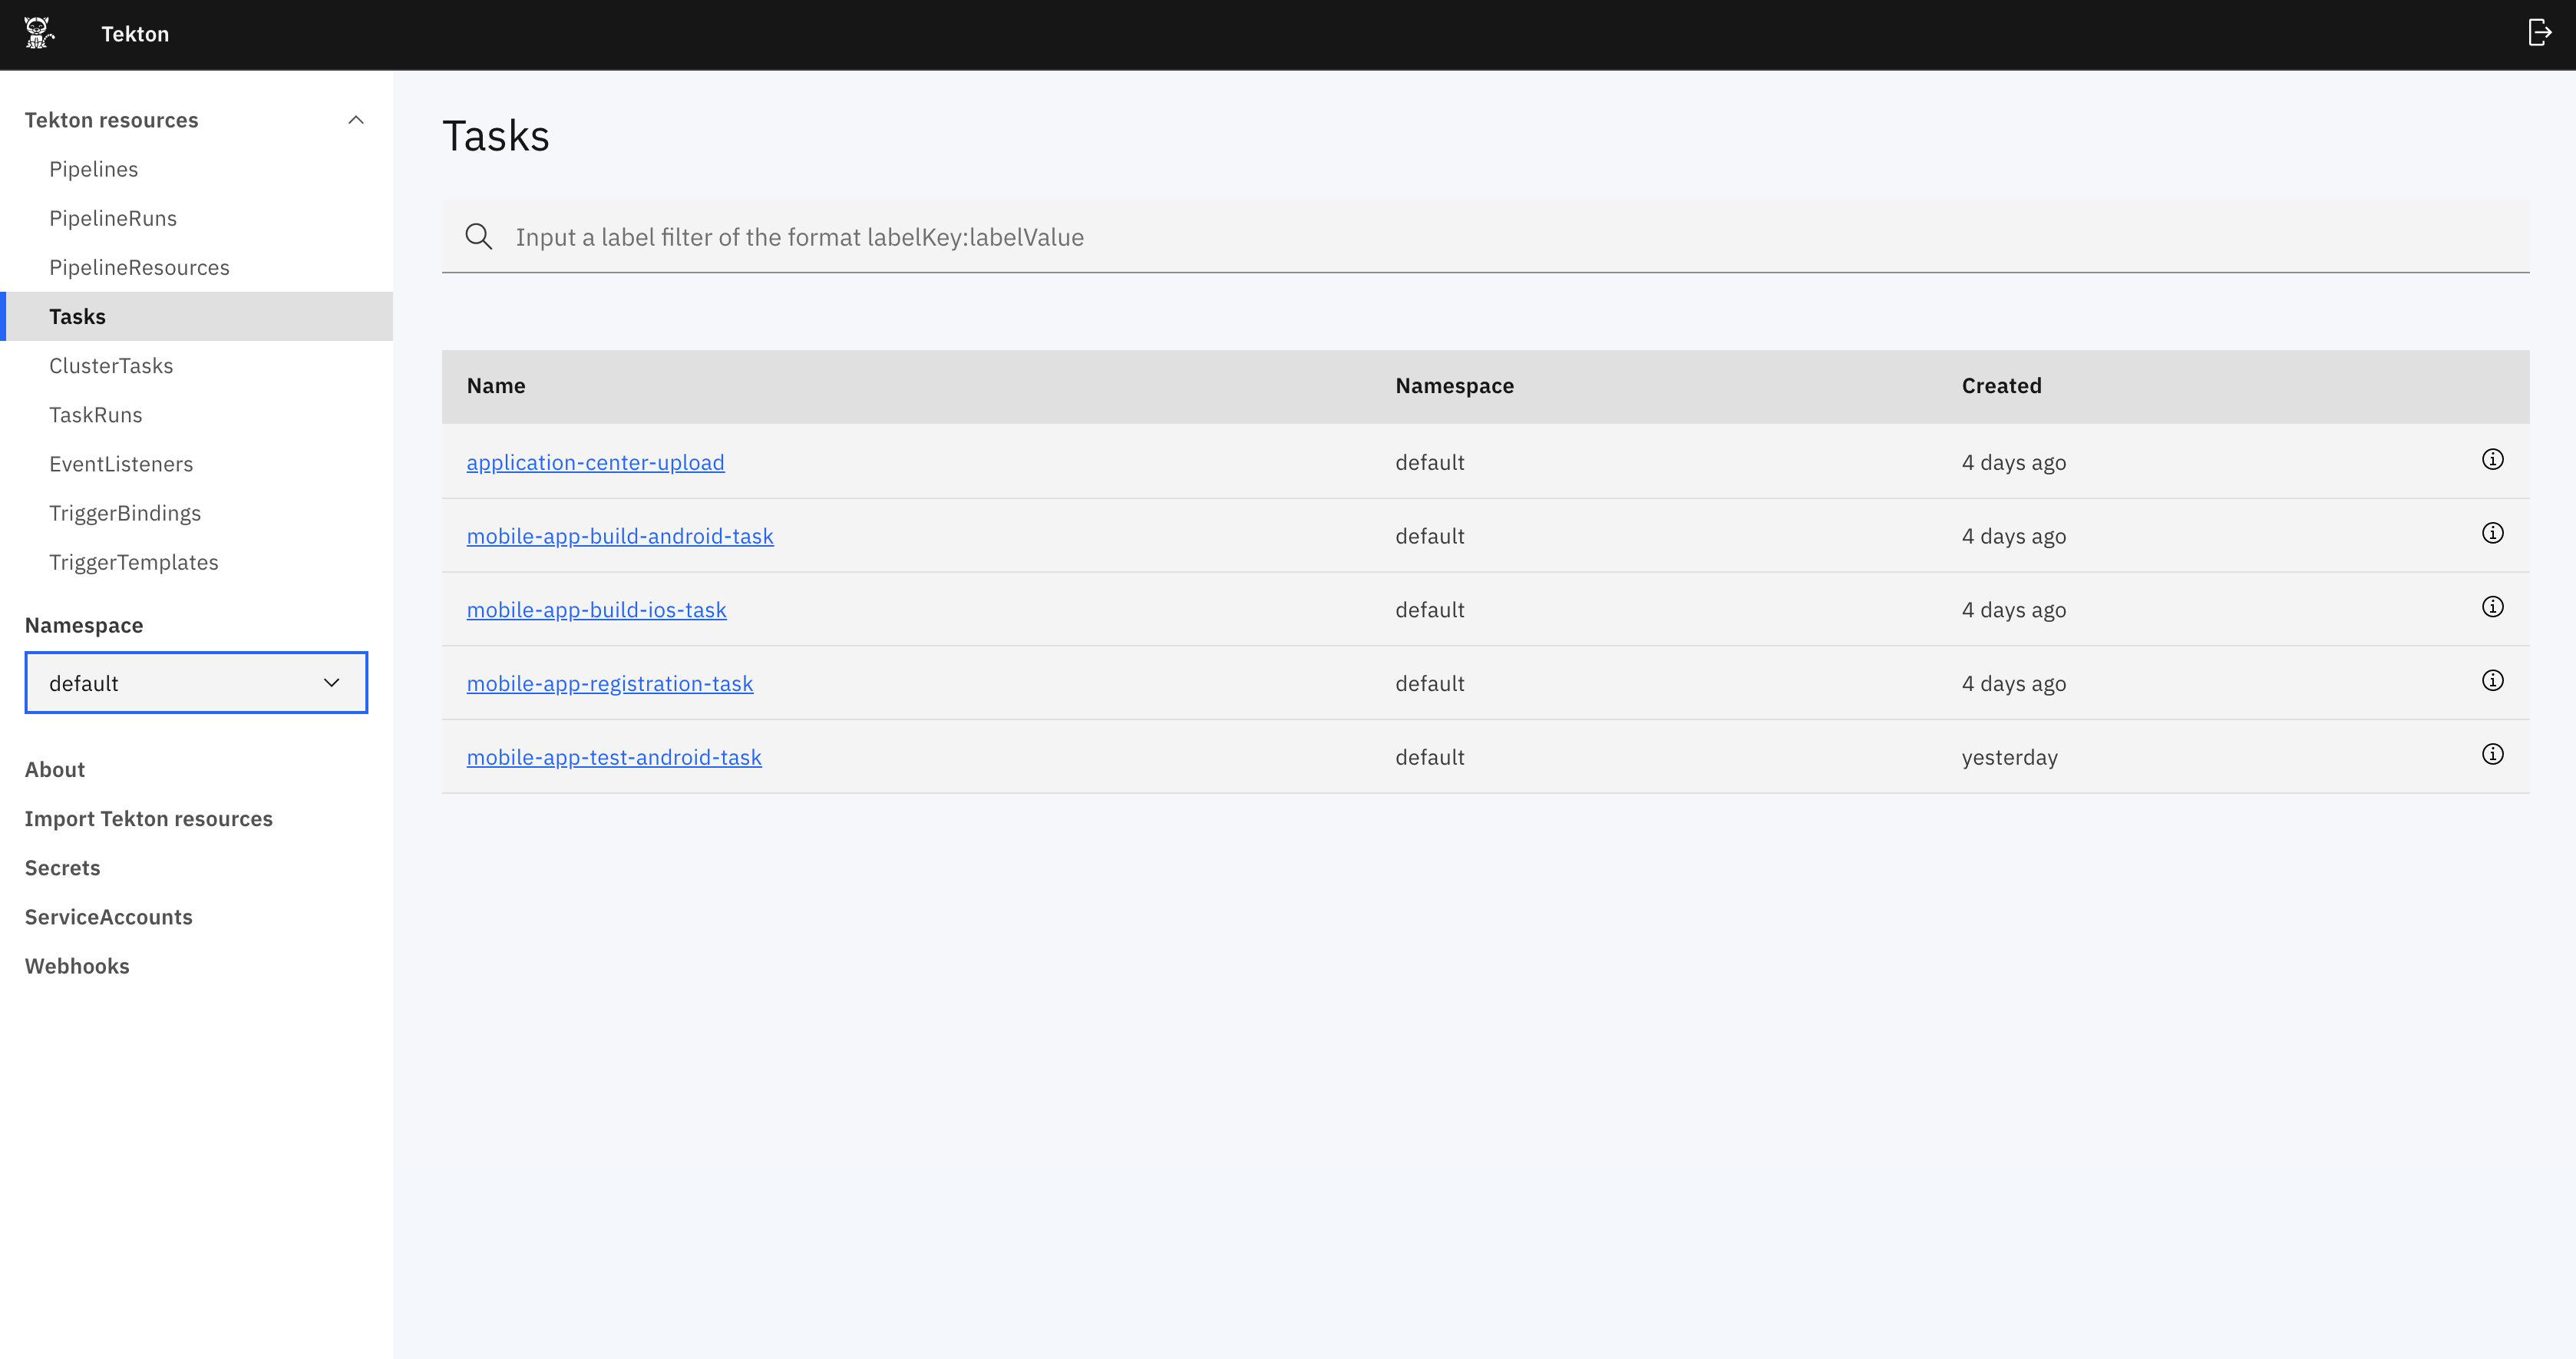
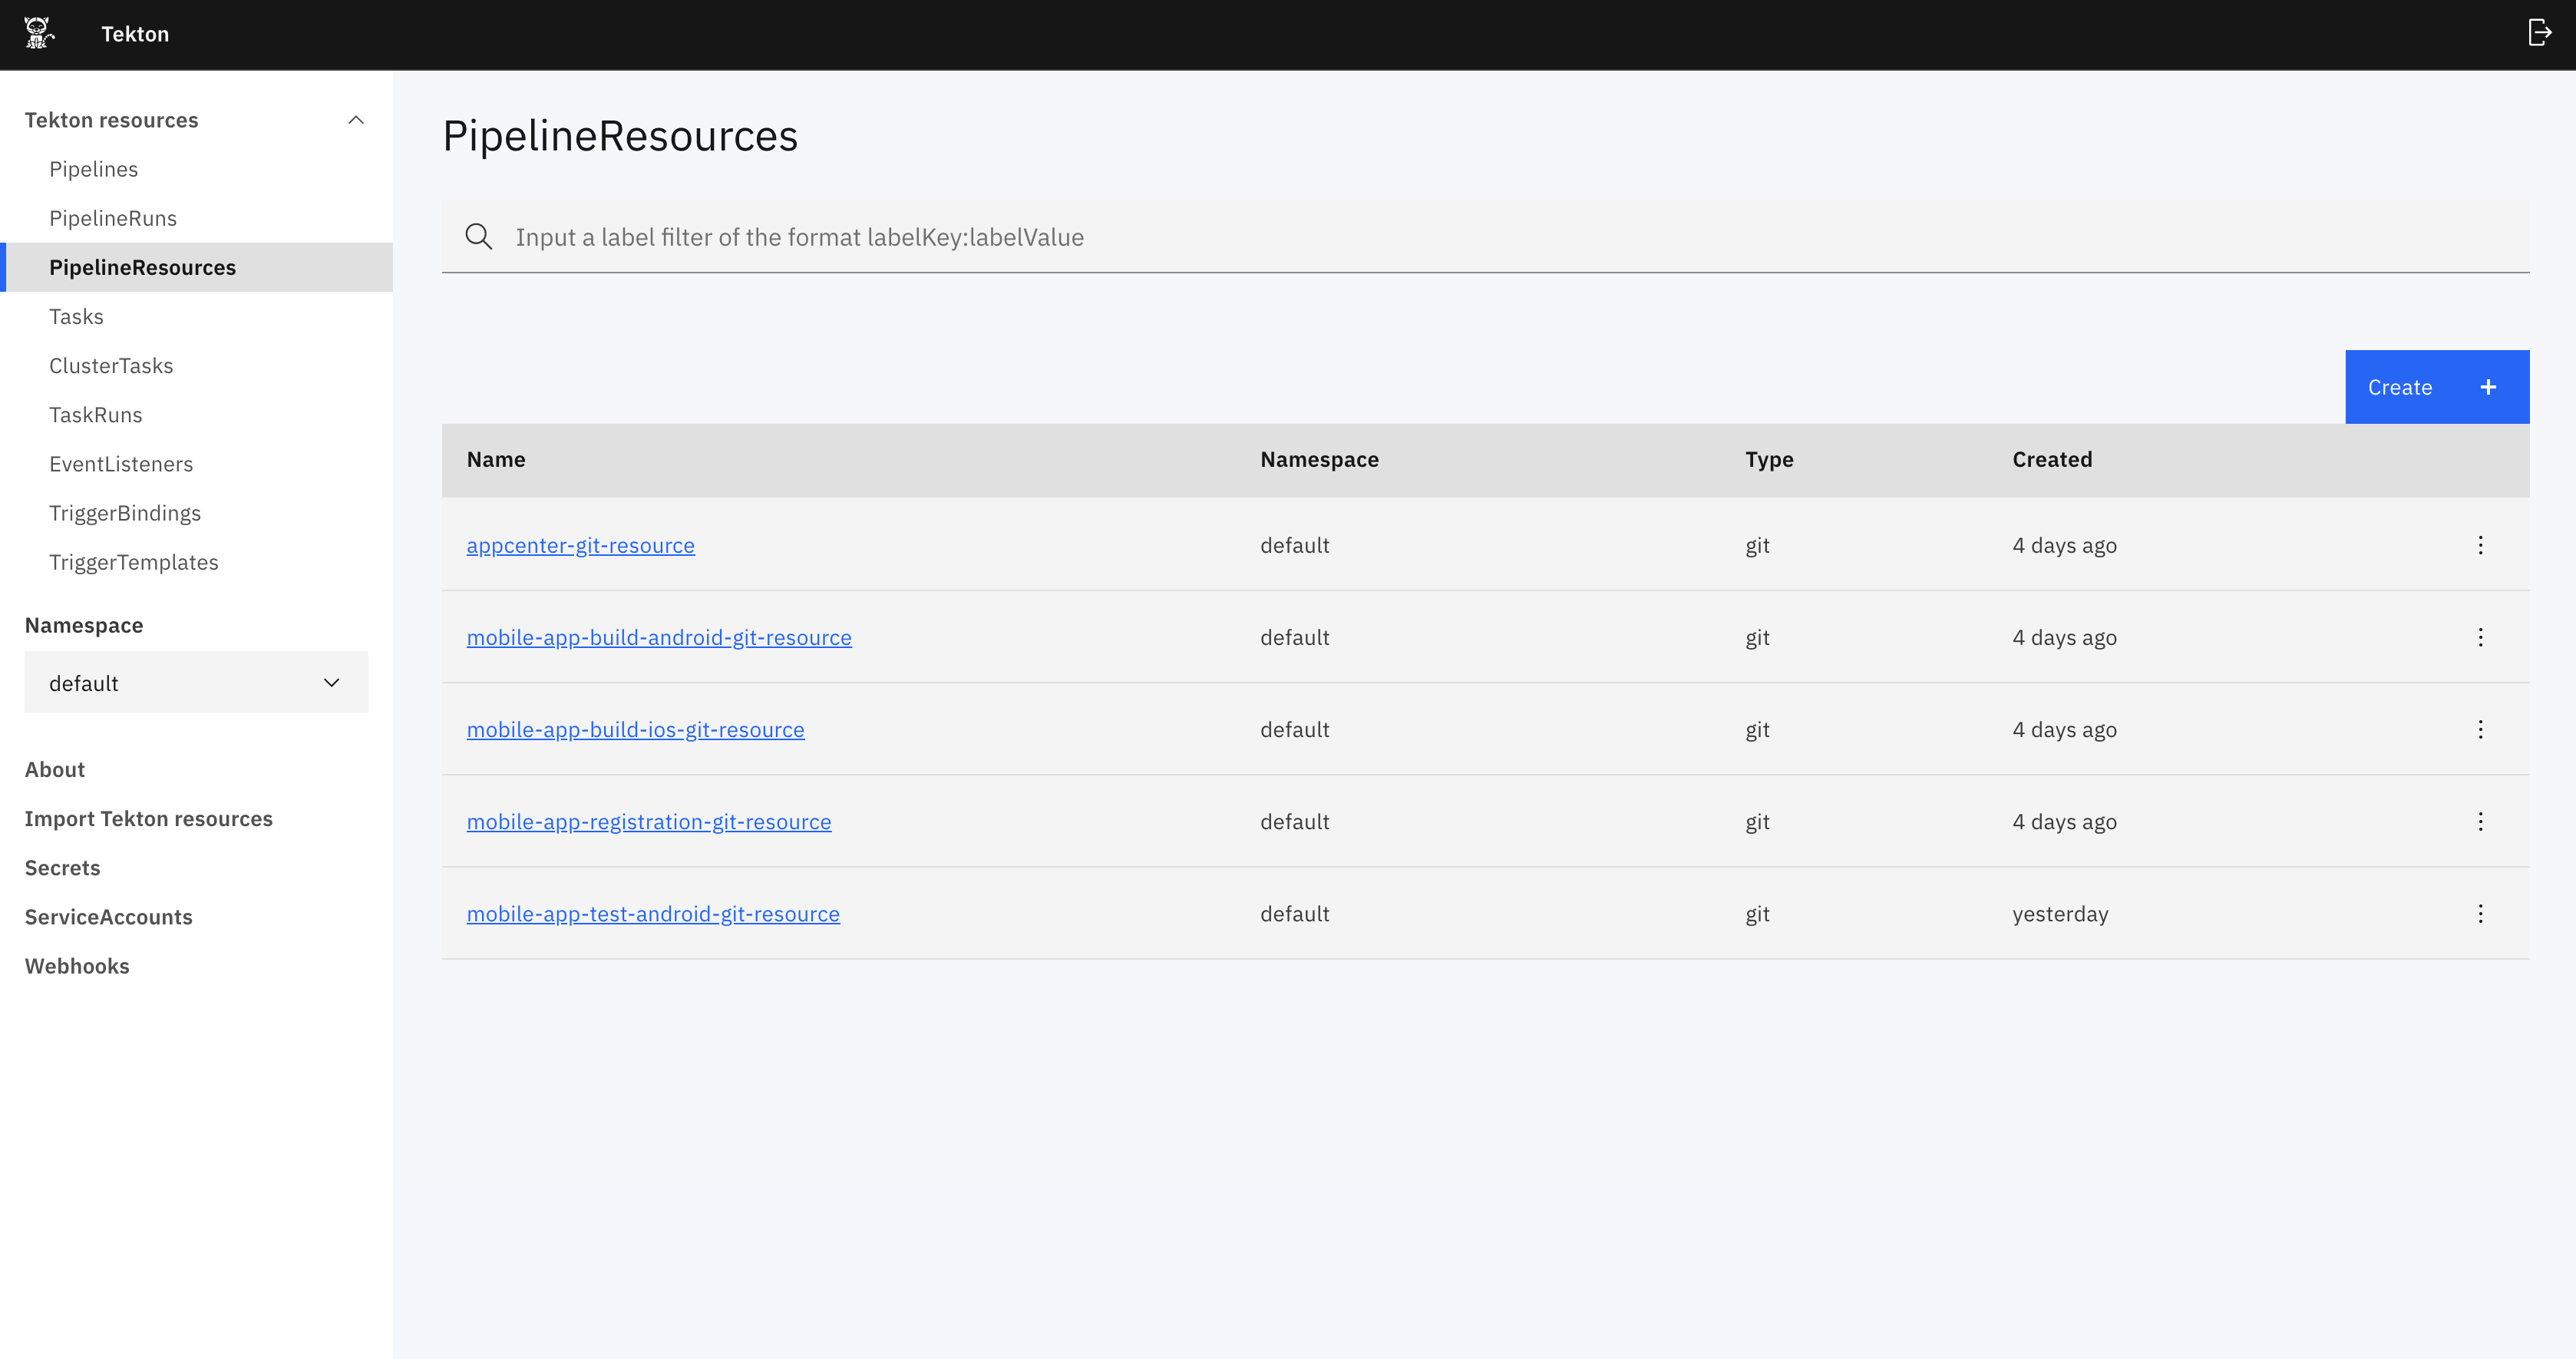
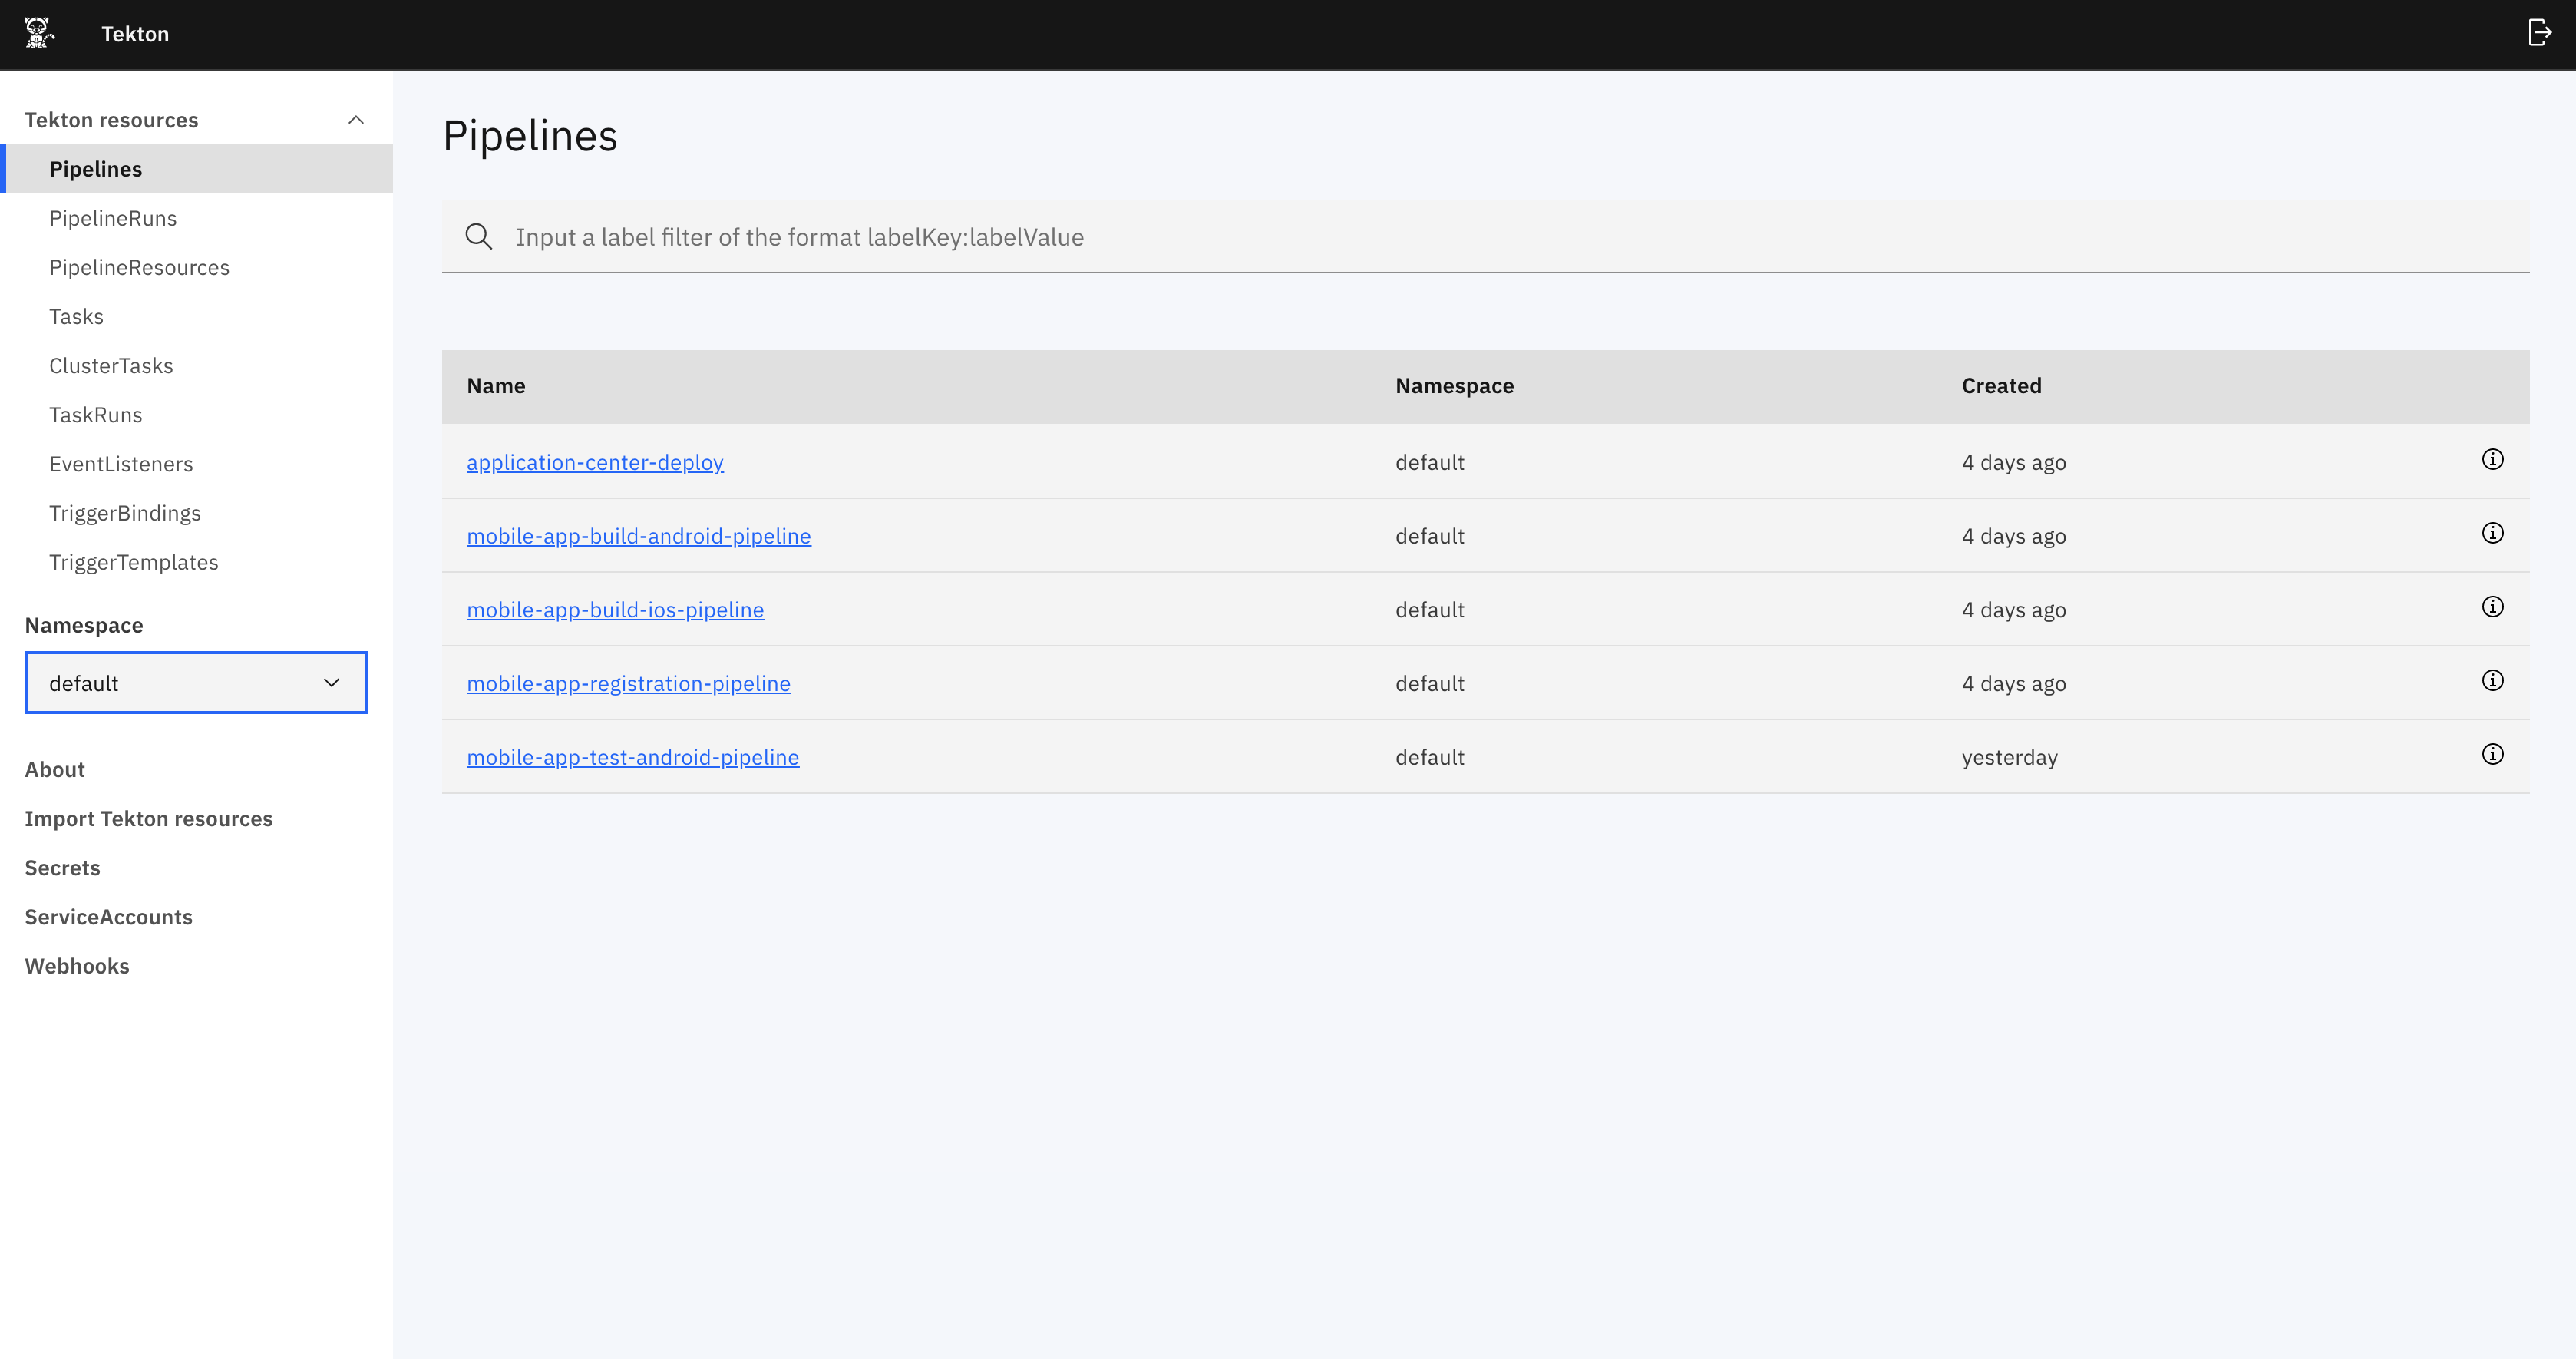
Above commands creates the tasks, pipelines and resources. We can see the tasks, resources and pipelines in the Tekton dashboard
Running the pipeline with appropriate resources from the Tekton dashboard
- Edit the resource file with proper git repository URL of the application.
pipeline/mobile-app-registration/appregistrationgitresource.yaml pipeline/mobile-app-build-android/ buildandoridgitresource.yaml pipeline/mobile-app-build-ios/ buildiosgitresource.yaml pipeline/mobile-app-publish/mobileapppublishgitresource.yaml pipeline/mobile-app-test-android/testandroidappgitresource.yaml - Run the command to update the resources of the Tekton pipeline mobile-app-registration.
oc apply -f pipeline/mobile-app-registration/appregistrationgitresource.yaml -n <projectname>Following is the output produced.
pipelineresource.tekton.dev/mobile-app-registration-git-resource configured - Run the command to update the resources of the Tekton pipeline mobile-app-build-android.
oc apply -f pipeline/mobile-app-build-andorid/buildandoridgitresource -n <projectname>Following is the output produced.
pipelineresource.tekton.dev/mobile-app-build-android-git-resource configured - Run the command to update the resources of the Tekton pipeline mobile-app-build-ios.
oc apply -f pipleline/mobile-app-build-ios/buildiosgitresource -n <projectname>Following is the output produced.
pipelineresource.tekton.dev/mobile-app-build-ios-git-resource configured - Run the command to update the resources of the Tekton pipeline mobile-app-publish.
oc apply -f pipeline/mobile-app-publish/mobileapppublishgitresource.yaml -n <projectname>Following is the output produced.
pipelineresource.tekton.dev/appcenter-git-resource configured - Run the command to update the resources of the Tekton pipeline mobile-app-test-android.
oc apply -f pipeline/mobile-app-test-android/testandroidappgitresource.yaml -n <projectname>Following is the output produced.
pipelineresource.tekton.dev/mobile-app-test-android-git-resource configured
Running the pipelines using PipelineRun
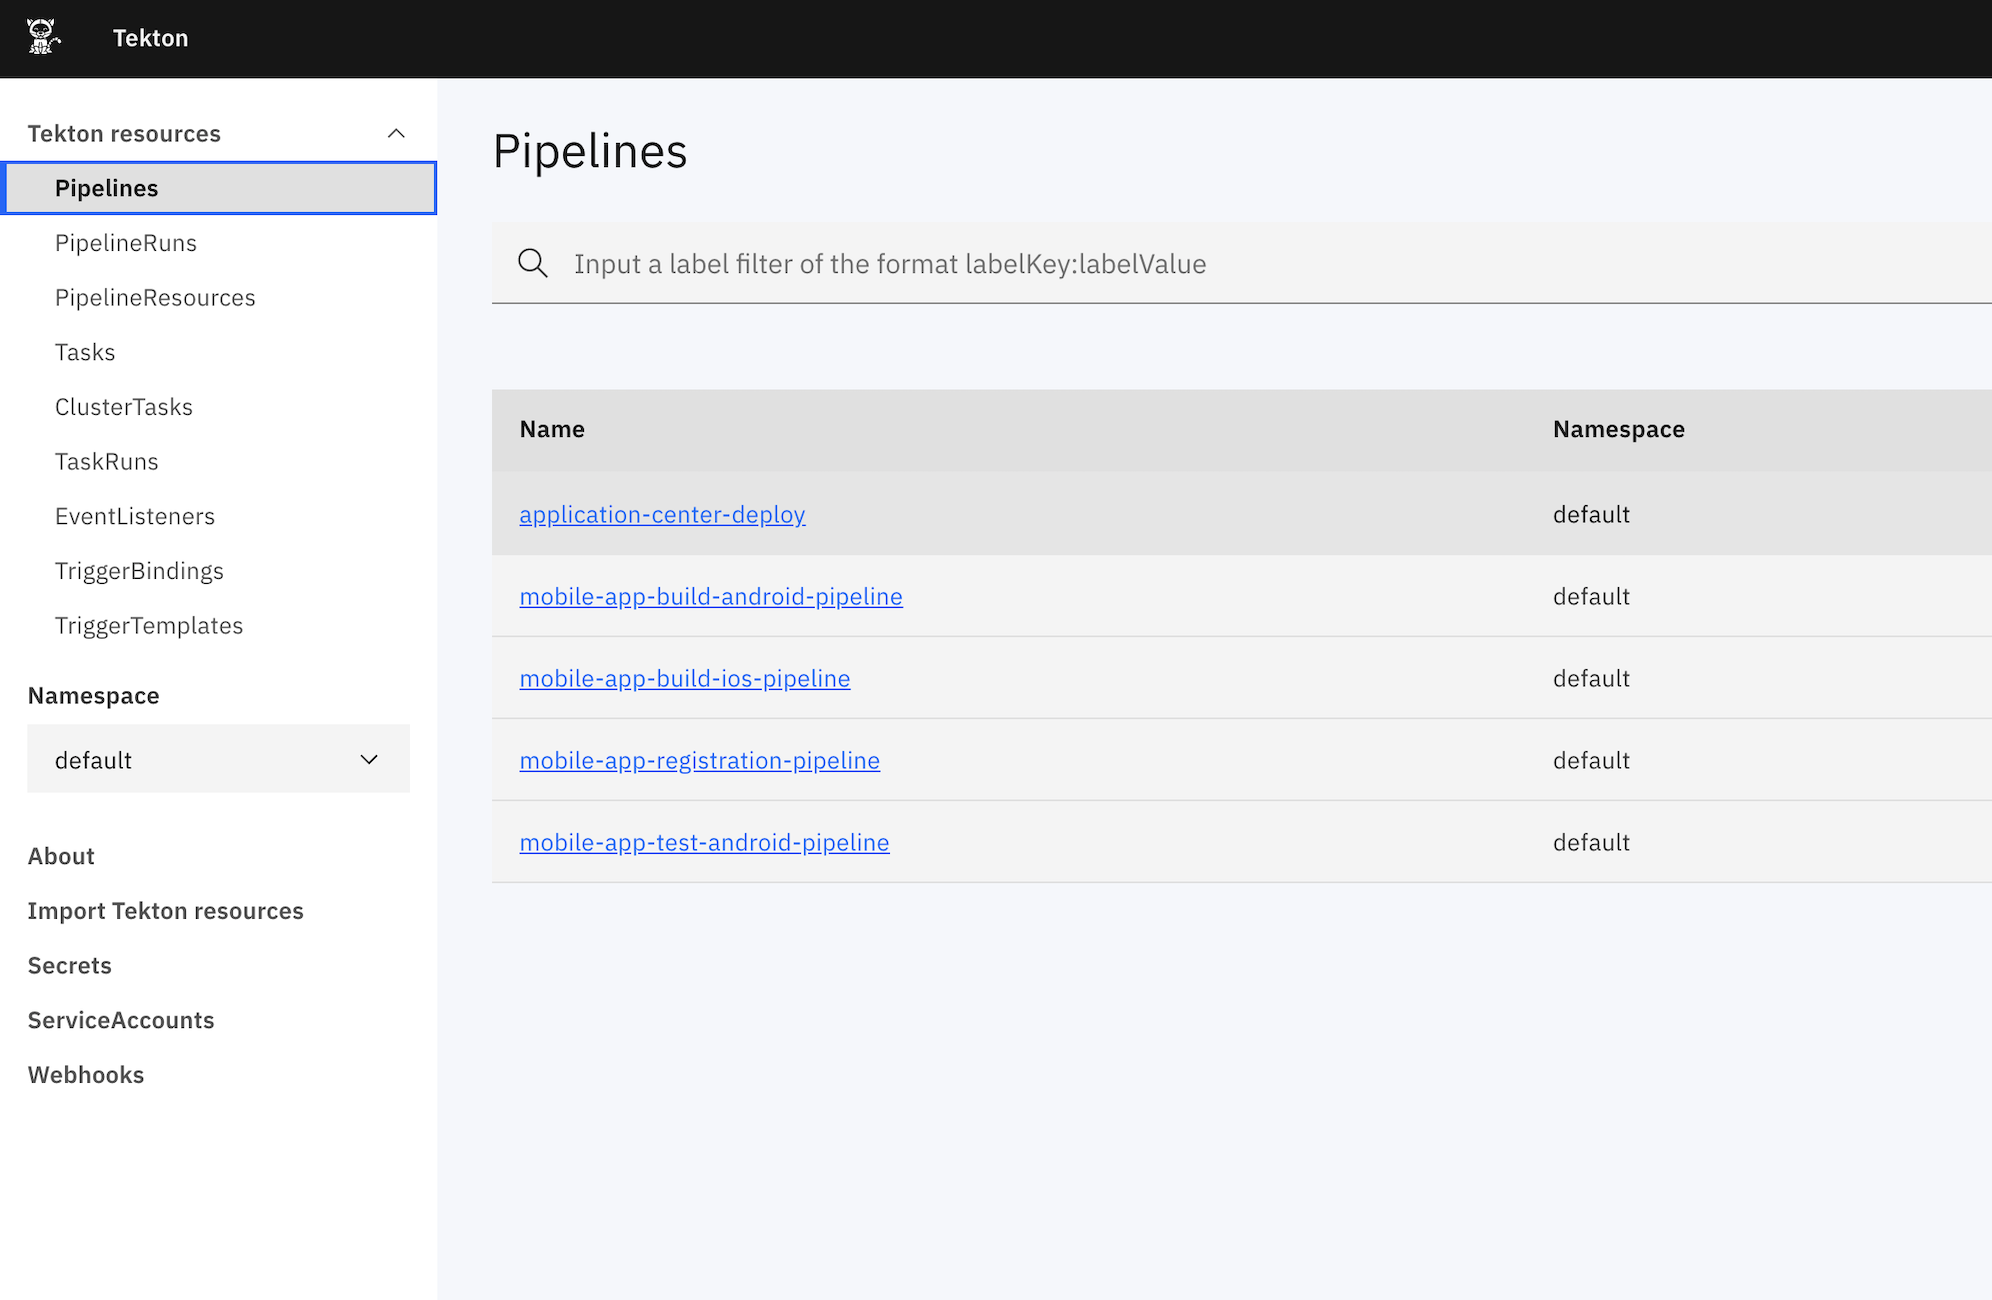
Open the Tekton dashboard and click the Pipelines section.
-
Click the Pipeline to run.
-
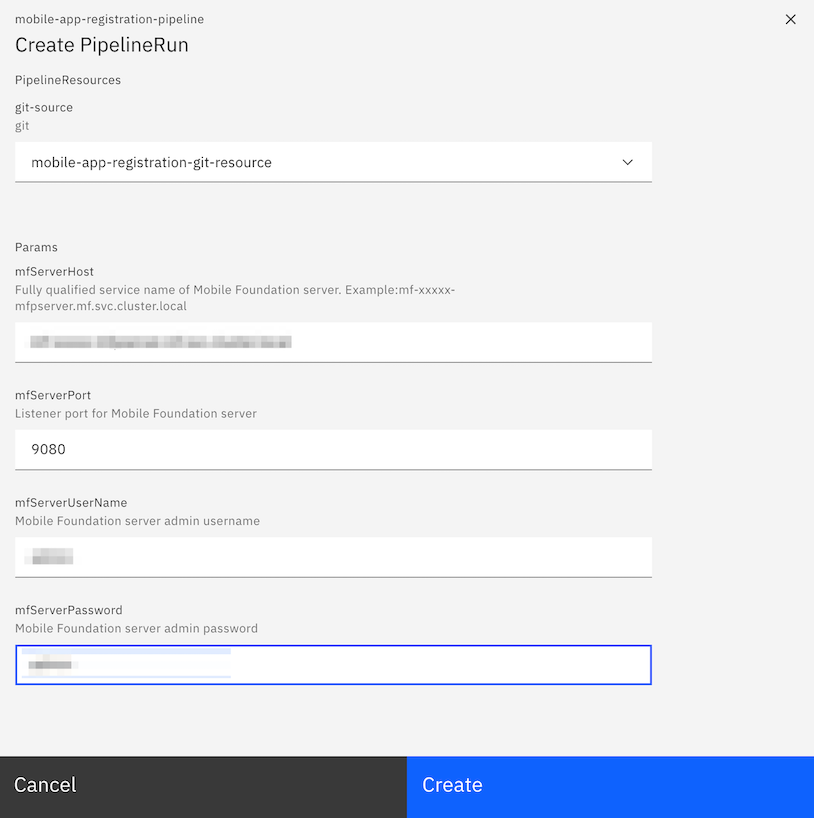
Click Create PipelineRun.
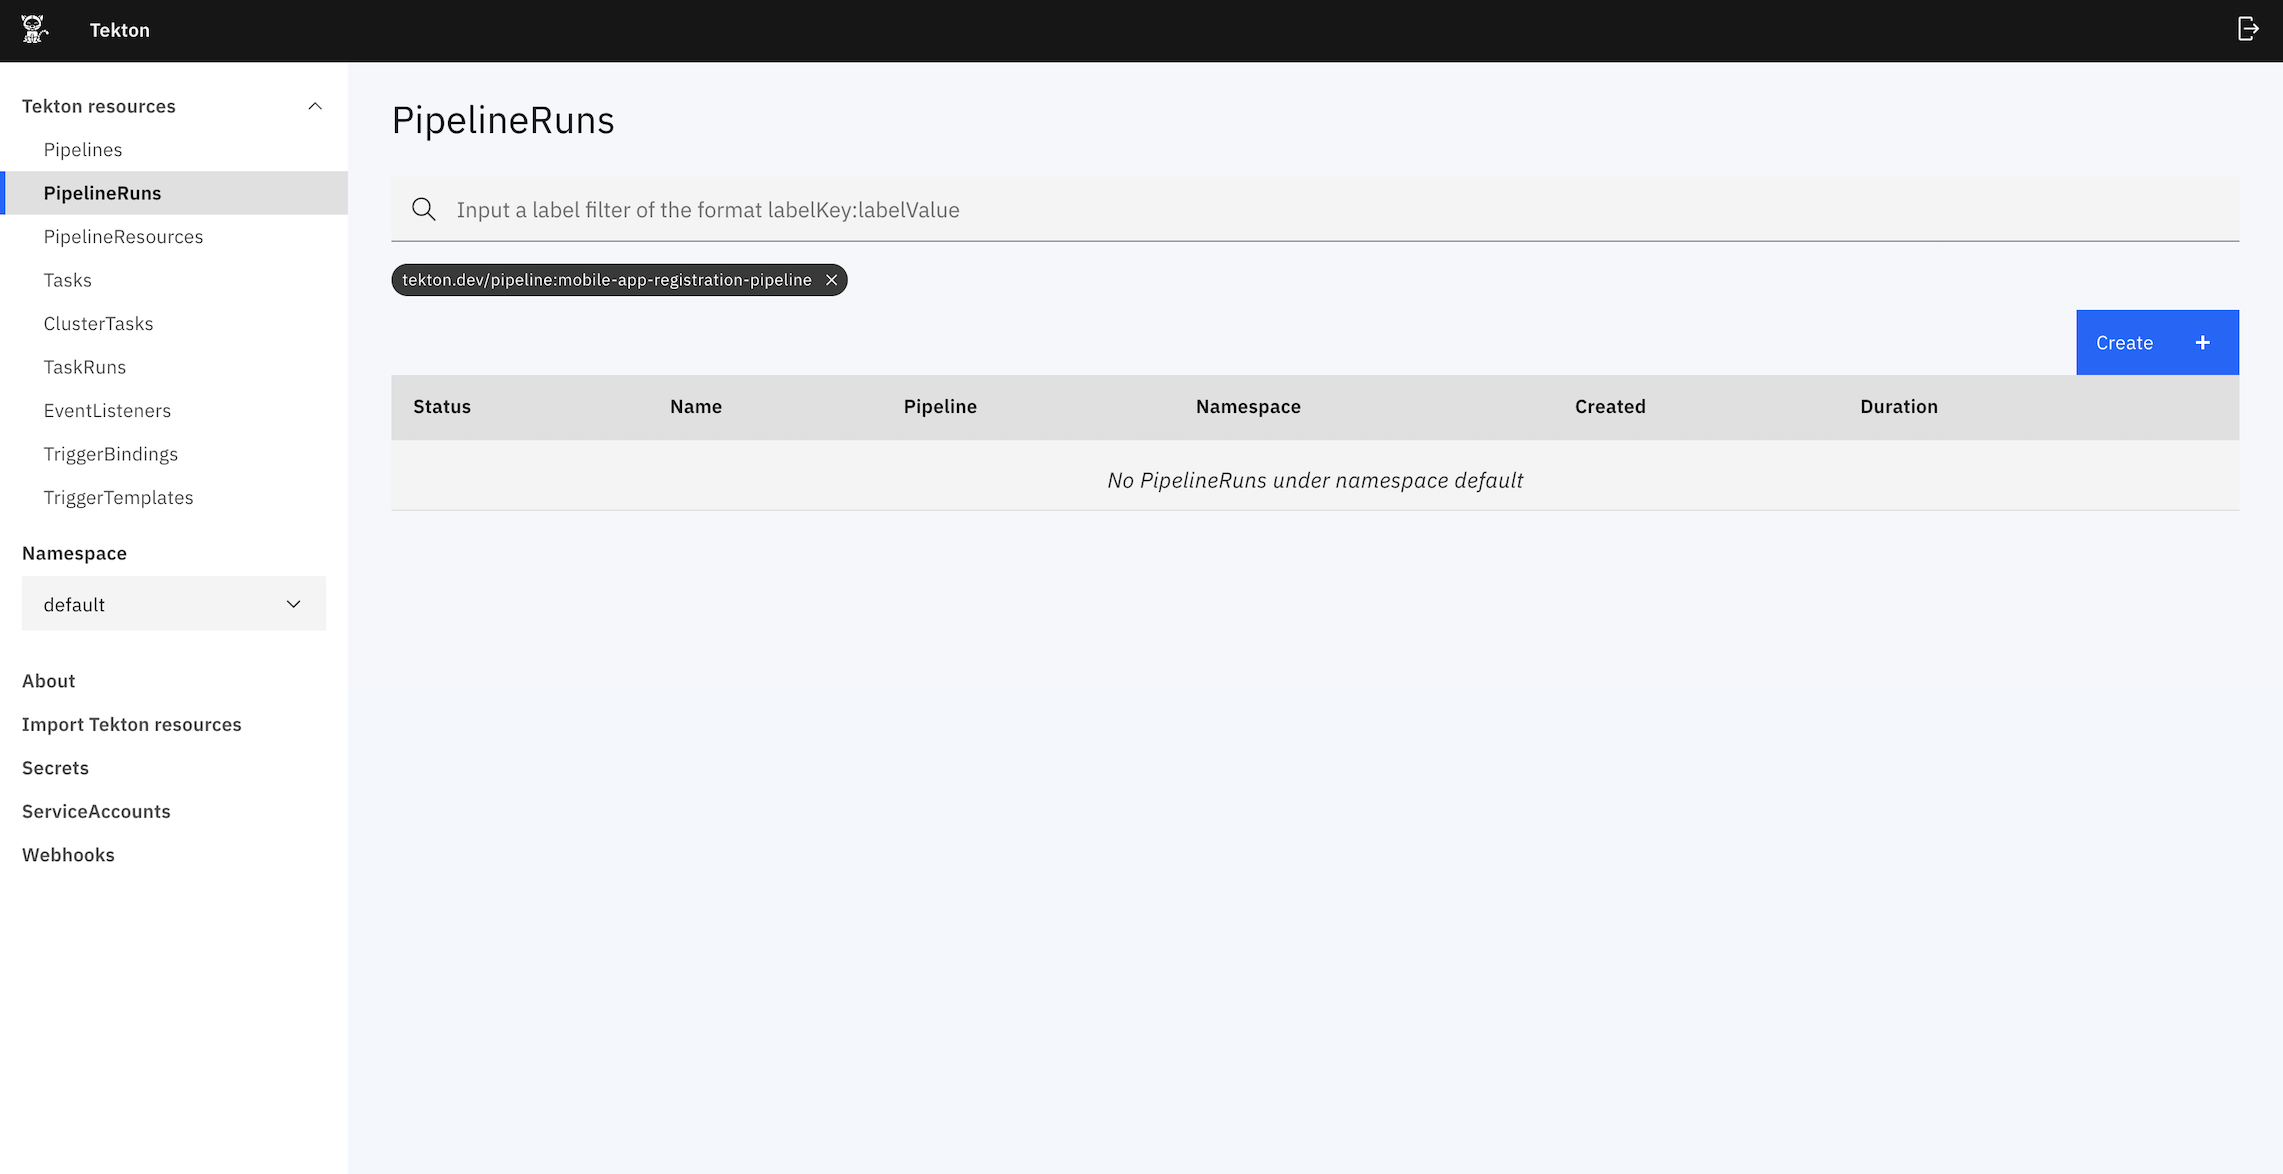
- Select the PipelineResources git-source created above.
- Provide the required parameters and service account as default.
- Click Create PipelineRun.
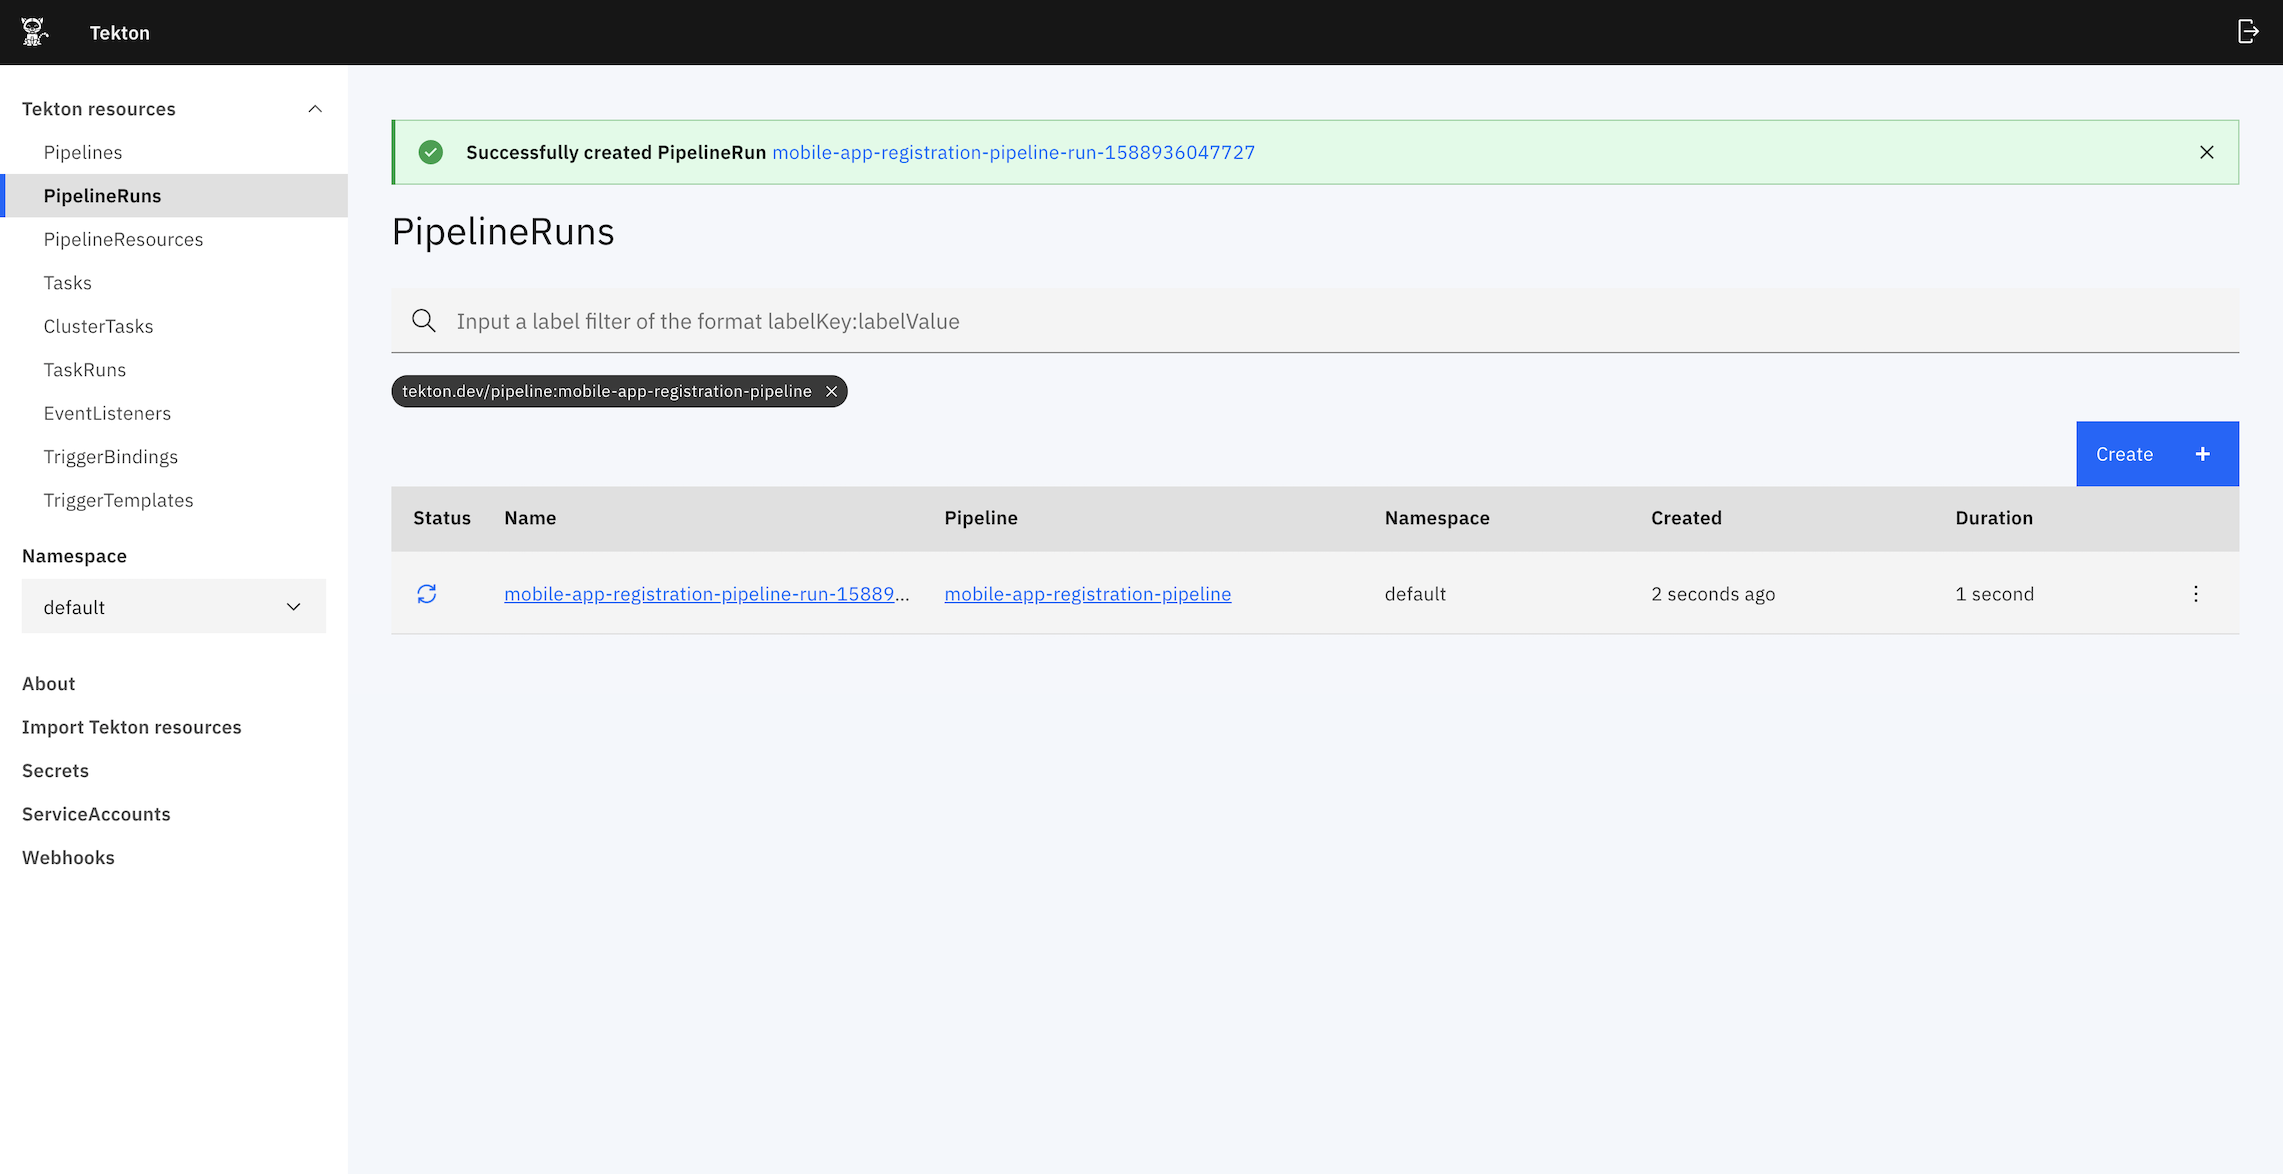
- To view the logs and status of the PipelineRun. Go to the Tekton dashboard and select the PipelineRuns.
Deploying tekton triggers for webhooks
NOTE: These steps are required only if you want to use Webhooks.
Configuring tekton triggers for Android build pipeline
Prerequisites
Before using the tekton triggers for android build a github-token needs to be added to the trigger binding yaml file. Go to pipeline/android-pipeline-trigger/mfpandroidtriggerbinding.yaml file and edit the place holder {githubToken} with a valid github-token.
Execute the following command.
oc apply -f pipeline/android-pipeline-trigger -n <projectname>
Following is the output produced.
eventlistener.tekton.dev/mfp-android-webhook-listener created
route.route.openshift.io/mfp-android-webhook-route created
triggerbinding.tekton.dev/mfp-android-trigger-binding created
rolebinding.rbac.authorization.k8s.io/mfp-android-trigger-binding created
serviceaccount/mfp-android-triggers-sa created
triggertemplate.tekton.dev/mfp-android-trigger-template created
role.rbac.authorization.k8s.io/mfp-trigger-role created
Configuring tekton triggers for iOS build pipeline
Prerequisites
Before using the tekton triggers for ios few fields needs to be added to the trigger binding yaml file. Go to pipeline/ios-pipeline-trigger/mfpiostriggerbinding.yaml file and edit the following parameters {githubToken} , {xcodeServerBotId} and xcodeServerHost with valid values.
Execute the following command.
oc apply -f pipeline/ios-pipeline-trigger -n <projectname>
Following is the output produced.
eventlistener.tekton.dev/mfp-ios-webhook-listener created
route.route.openshift.io/mfp-ios-webhook-route created
triggerbinding.tekton.dev/mfp-ios-trigger-binding created
rolebinding.rbac.authorization.k8s.io/mfp-ios-trigger-binding created
serviceaccount/mfp-ios-triggers-sa created
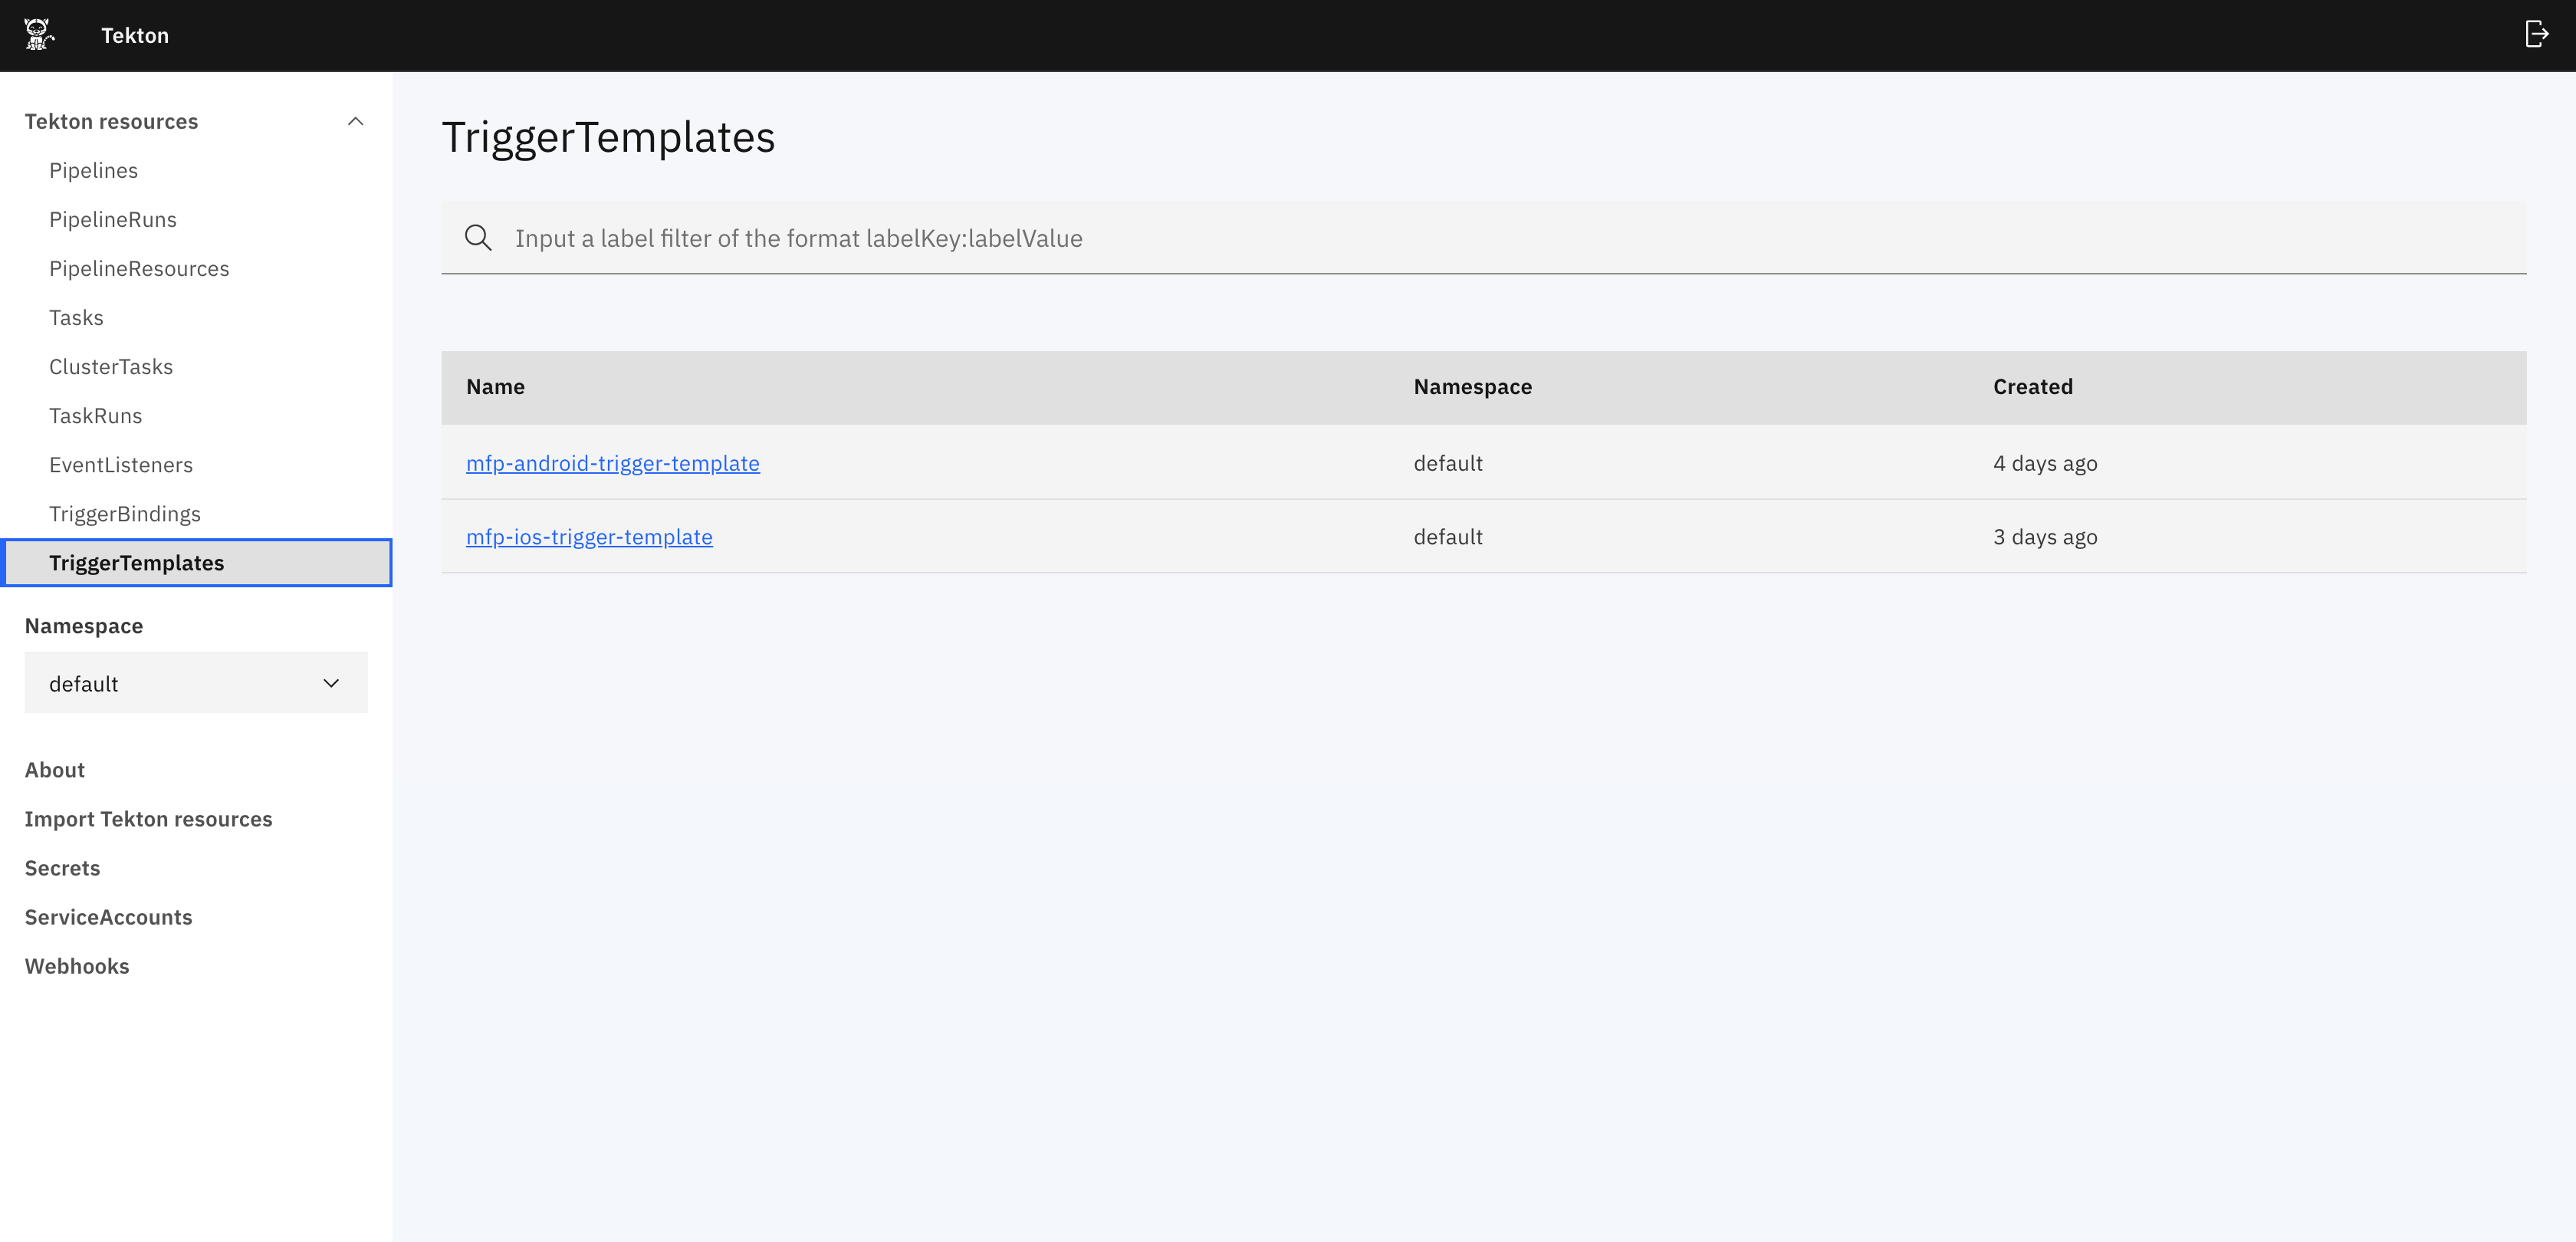
triggertemplate.tekton.dev/mfp-ios-trigger-template created
Above commands creates the EventListeners,TriggerBindings and TriggerTemplates that can be accessed from the Tekton Dashboard.
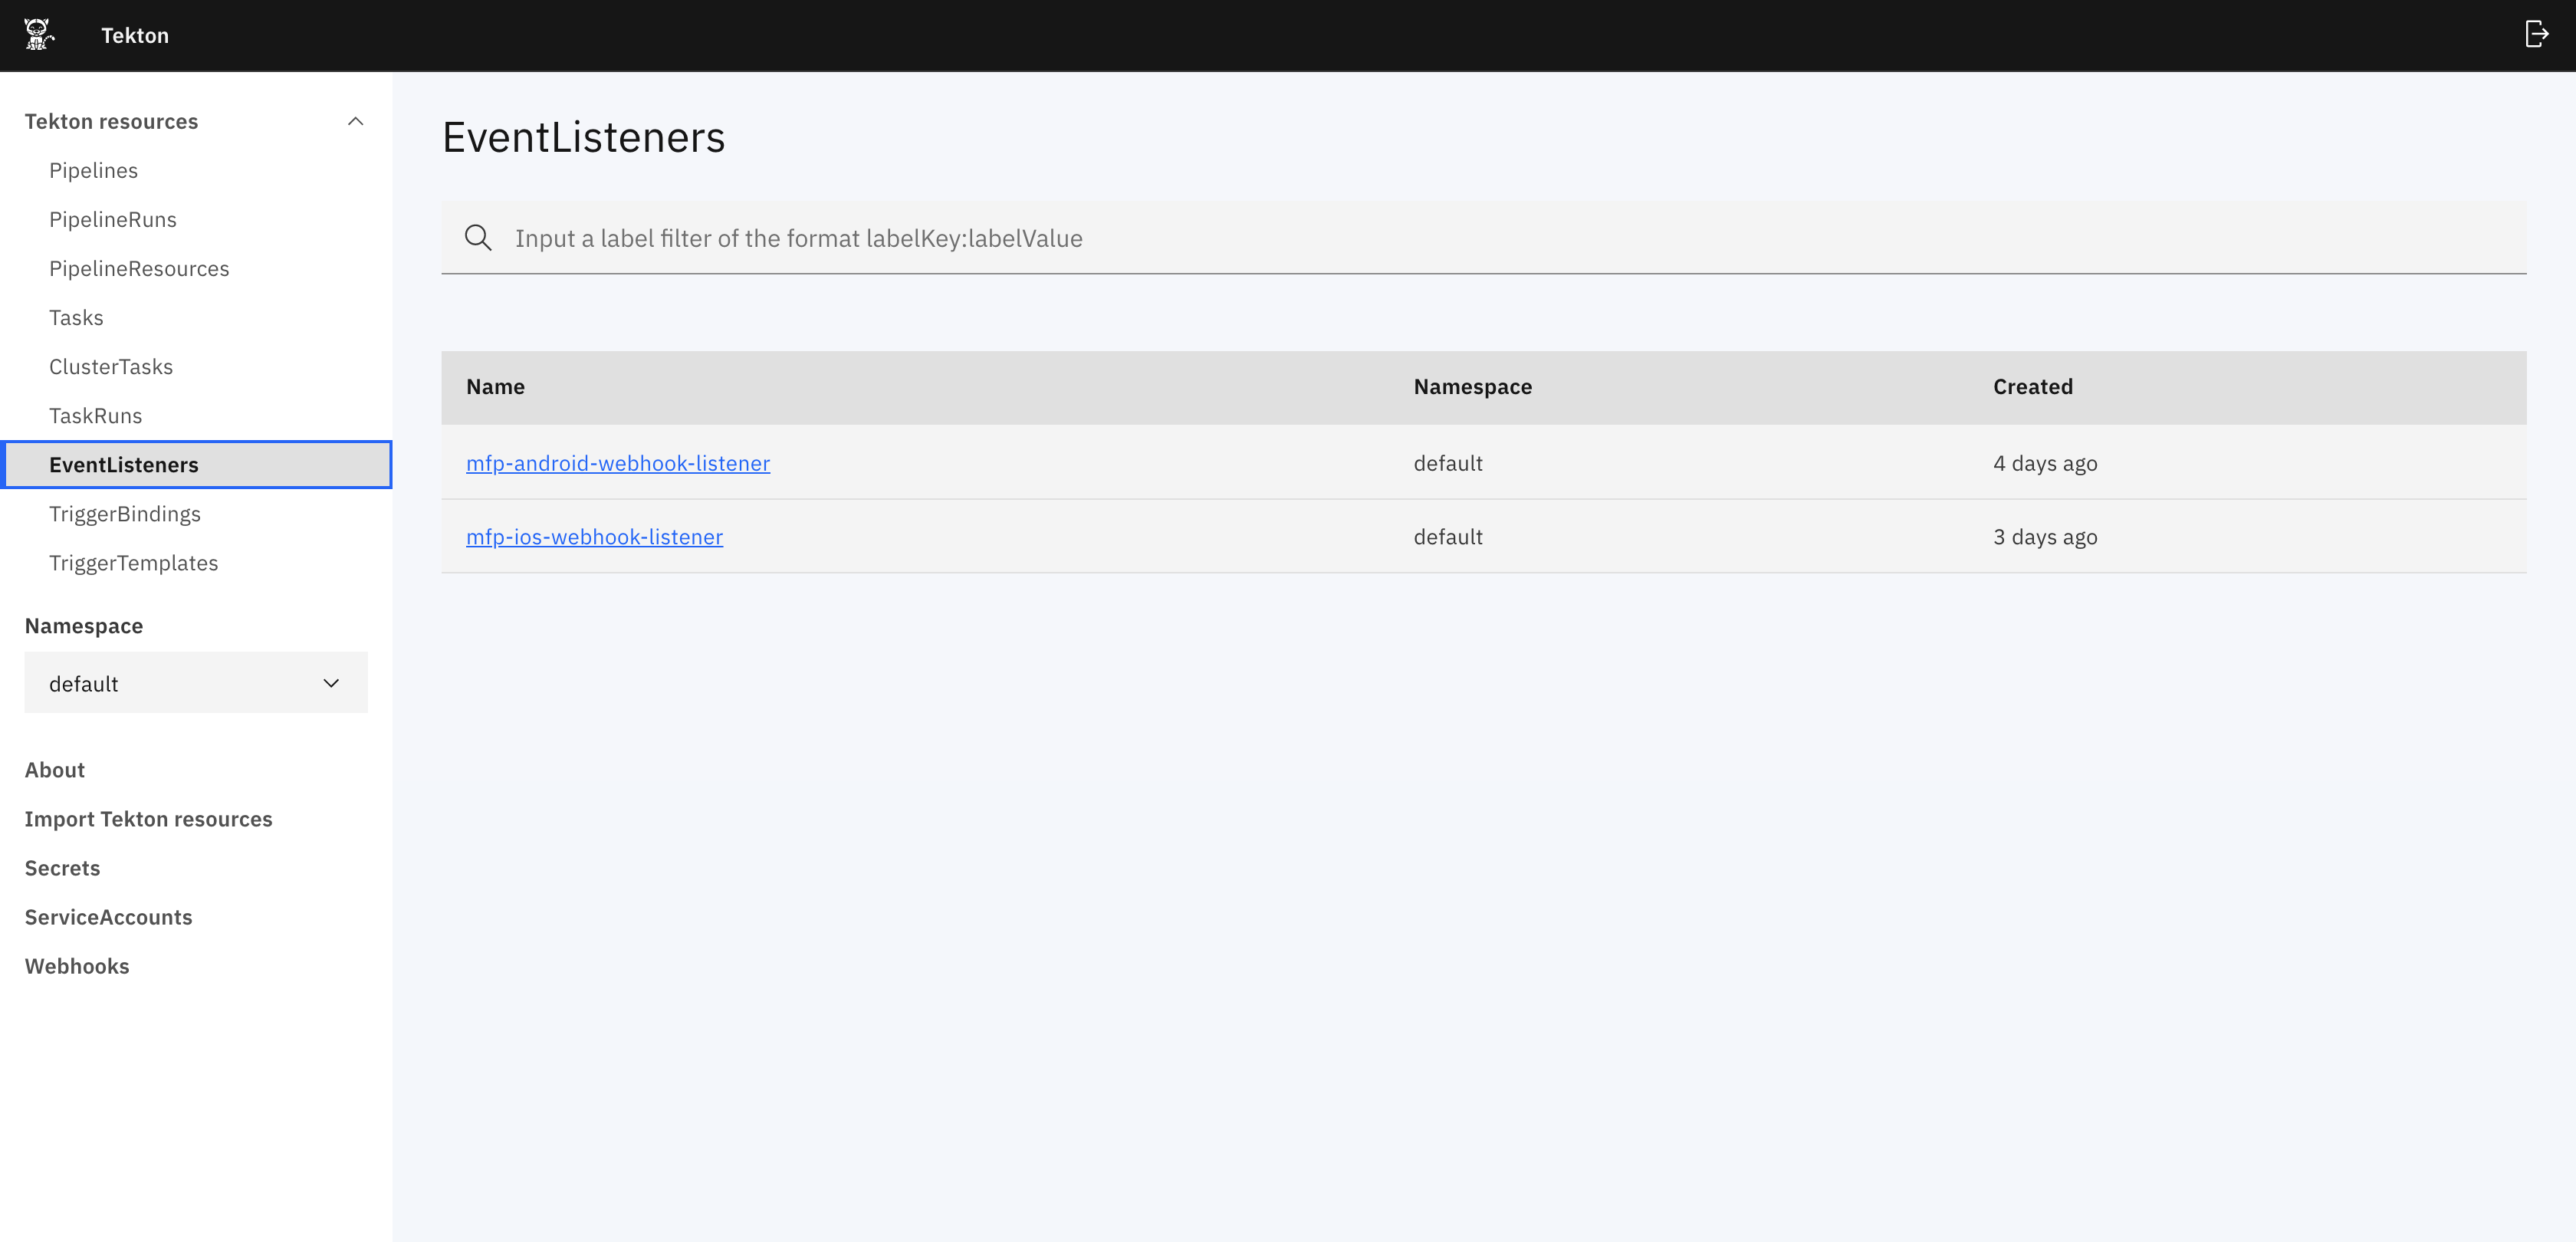

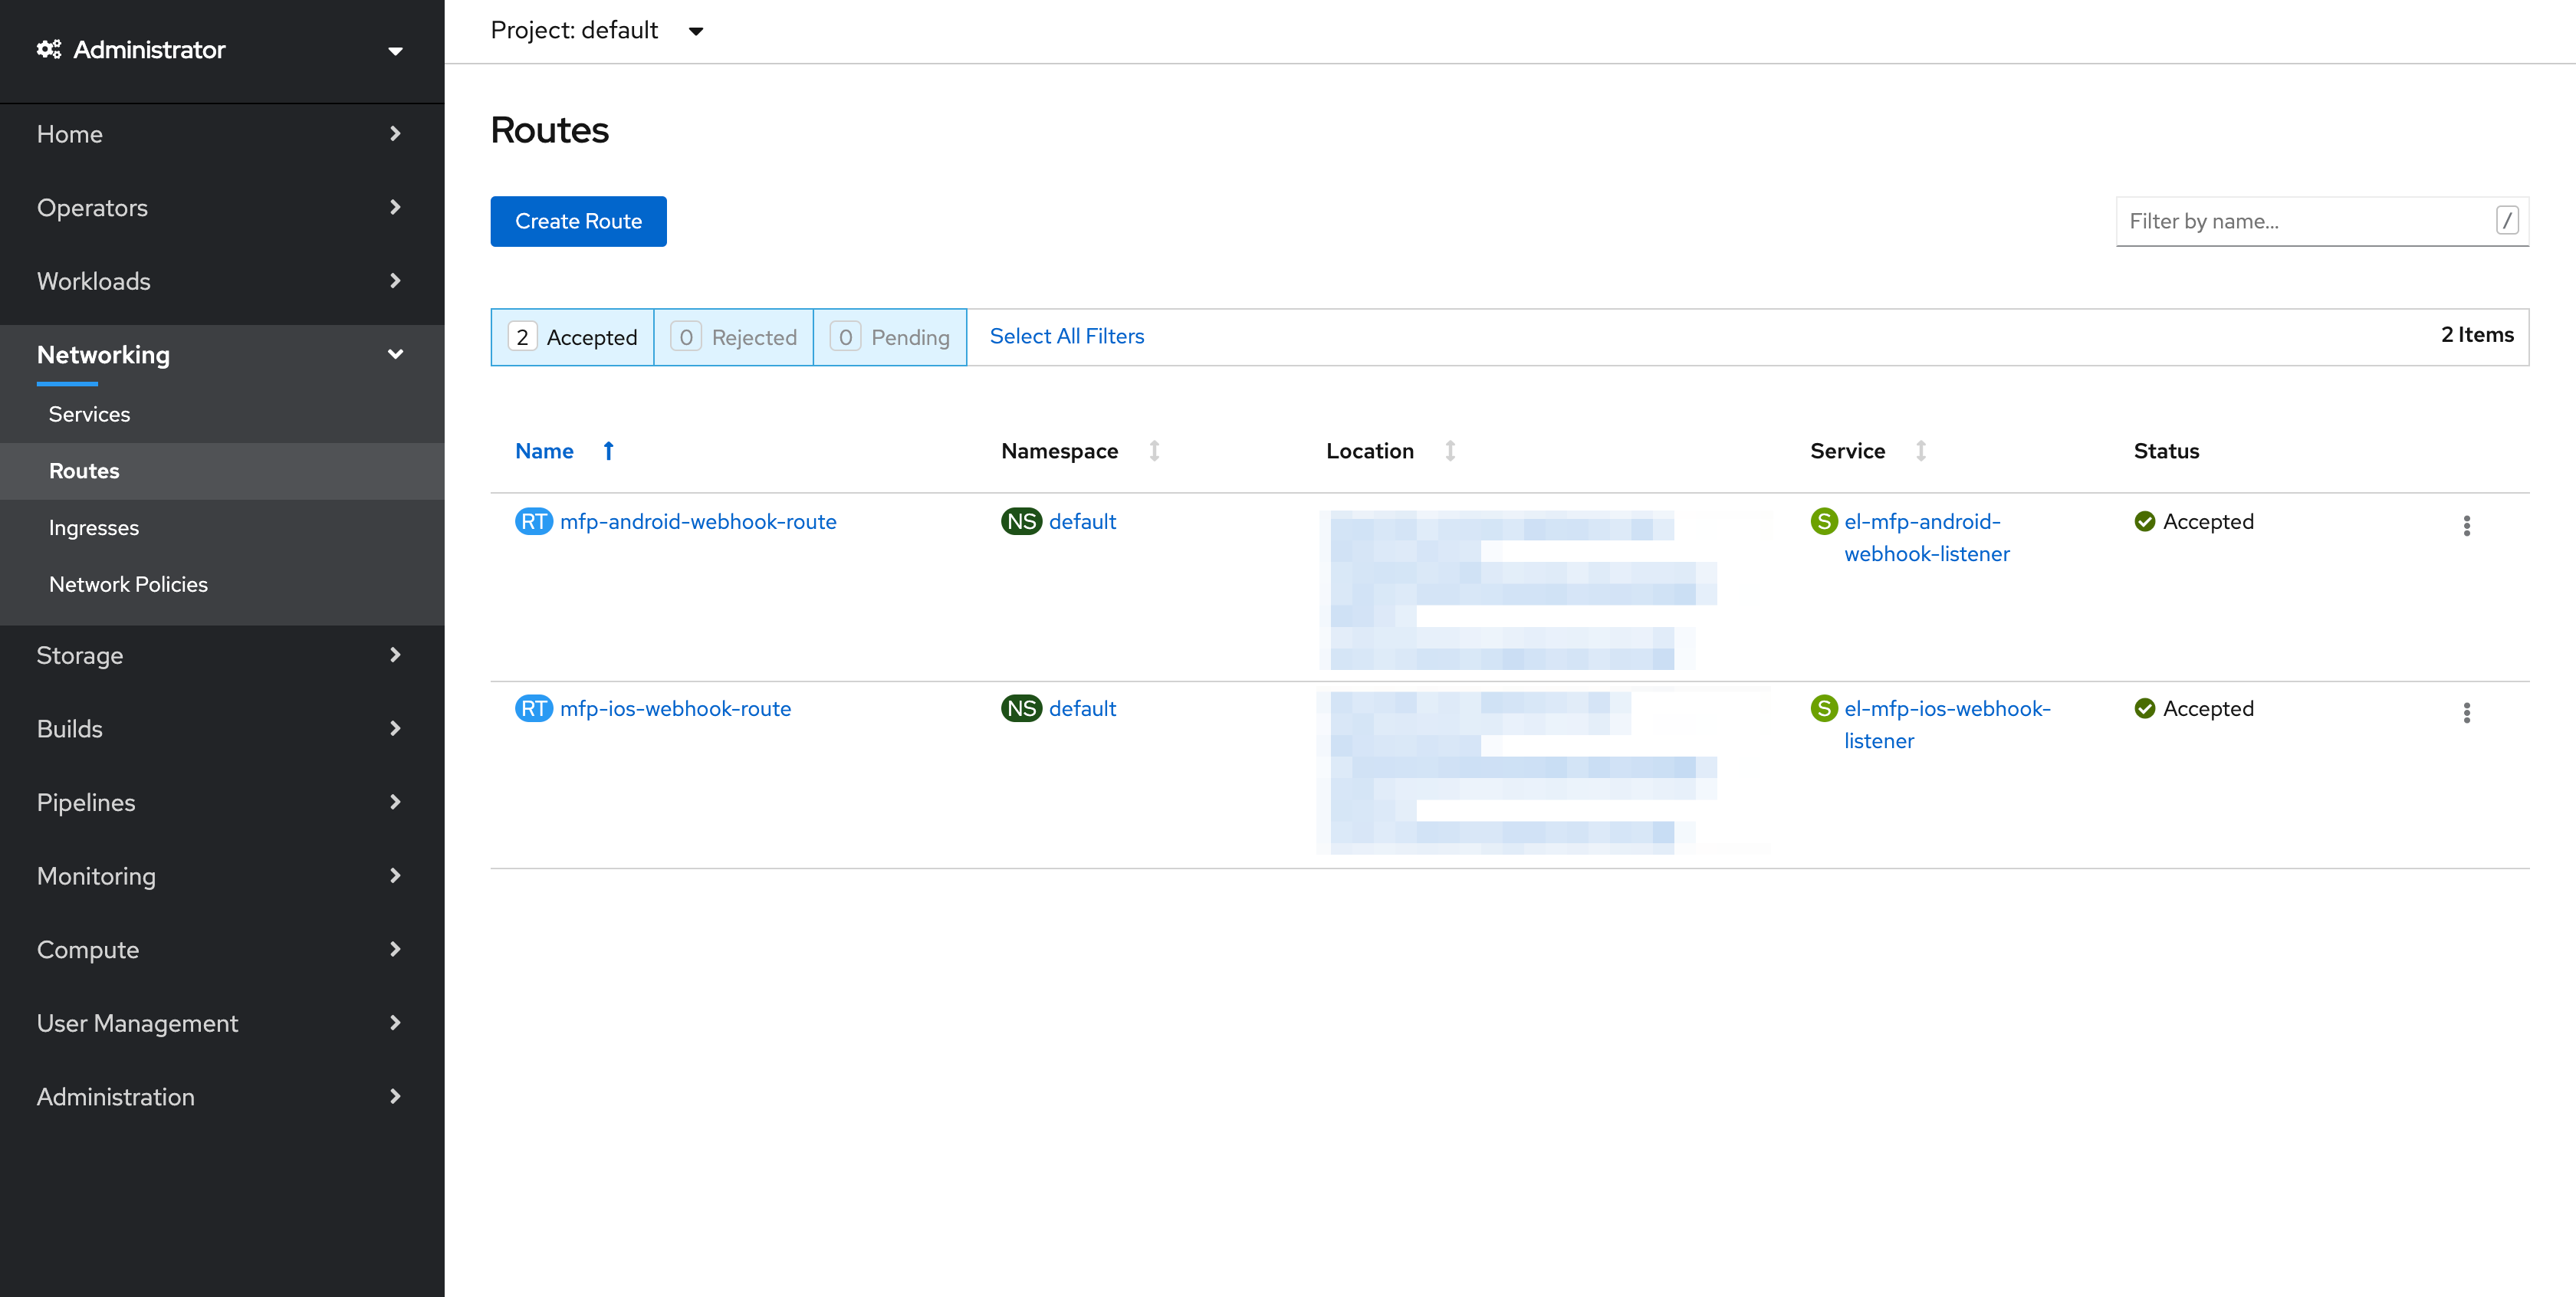
They also expose two routes that can be used to configure webhooks. From the openshift dashboard navigate to Networking and Routes , one is for android build and the other is for iOS build.
Triggering pipelines using webhook
Run the pipeline with webhook to automatically trigger the PipelineRun whenever there are changes in the application git repository.
Creation of Webhooks
- Go to the Git repository for which you want to configure the webhook.
- Navigate to the
Settingstab of the respository.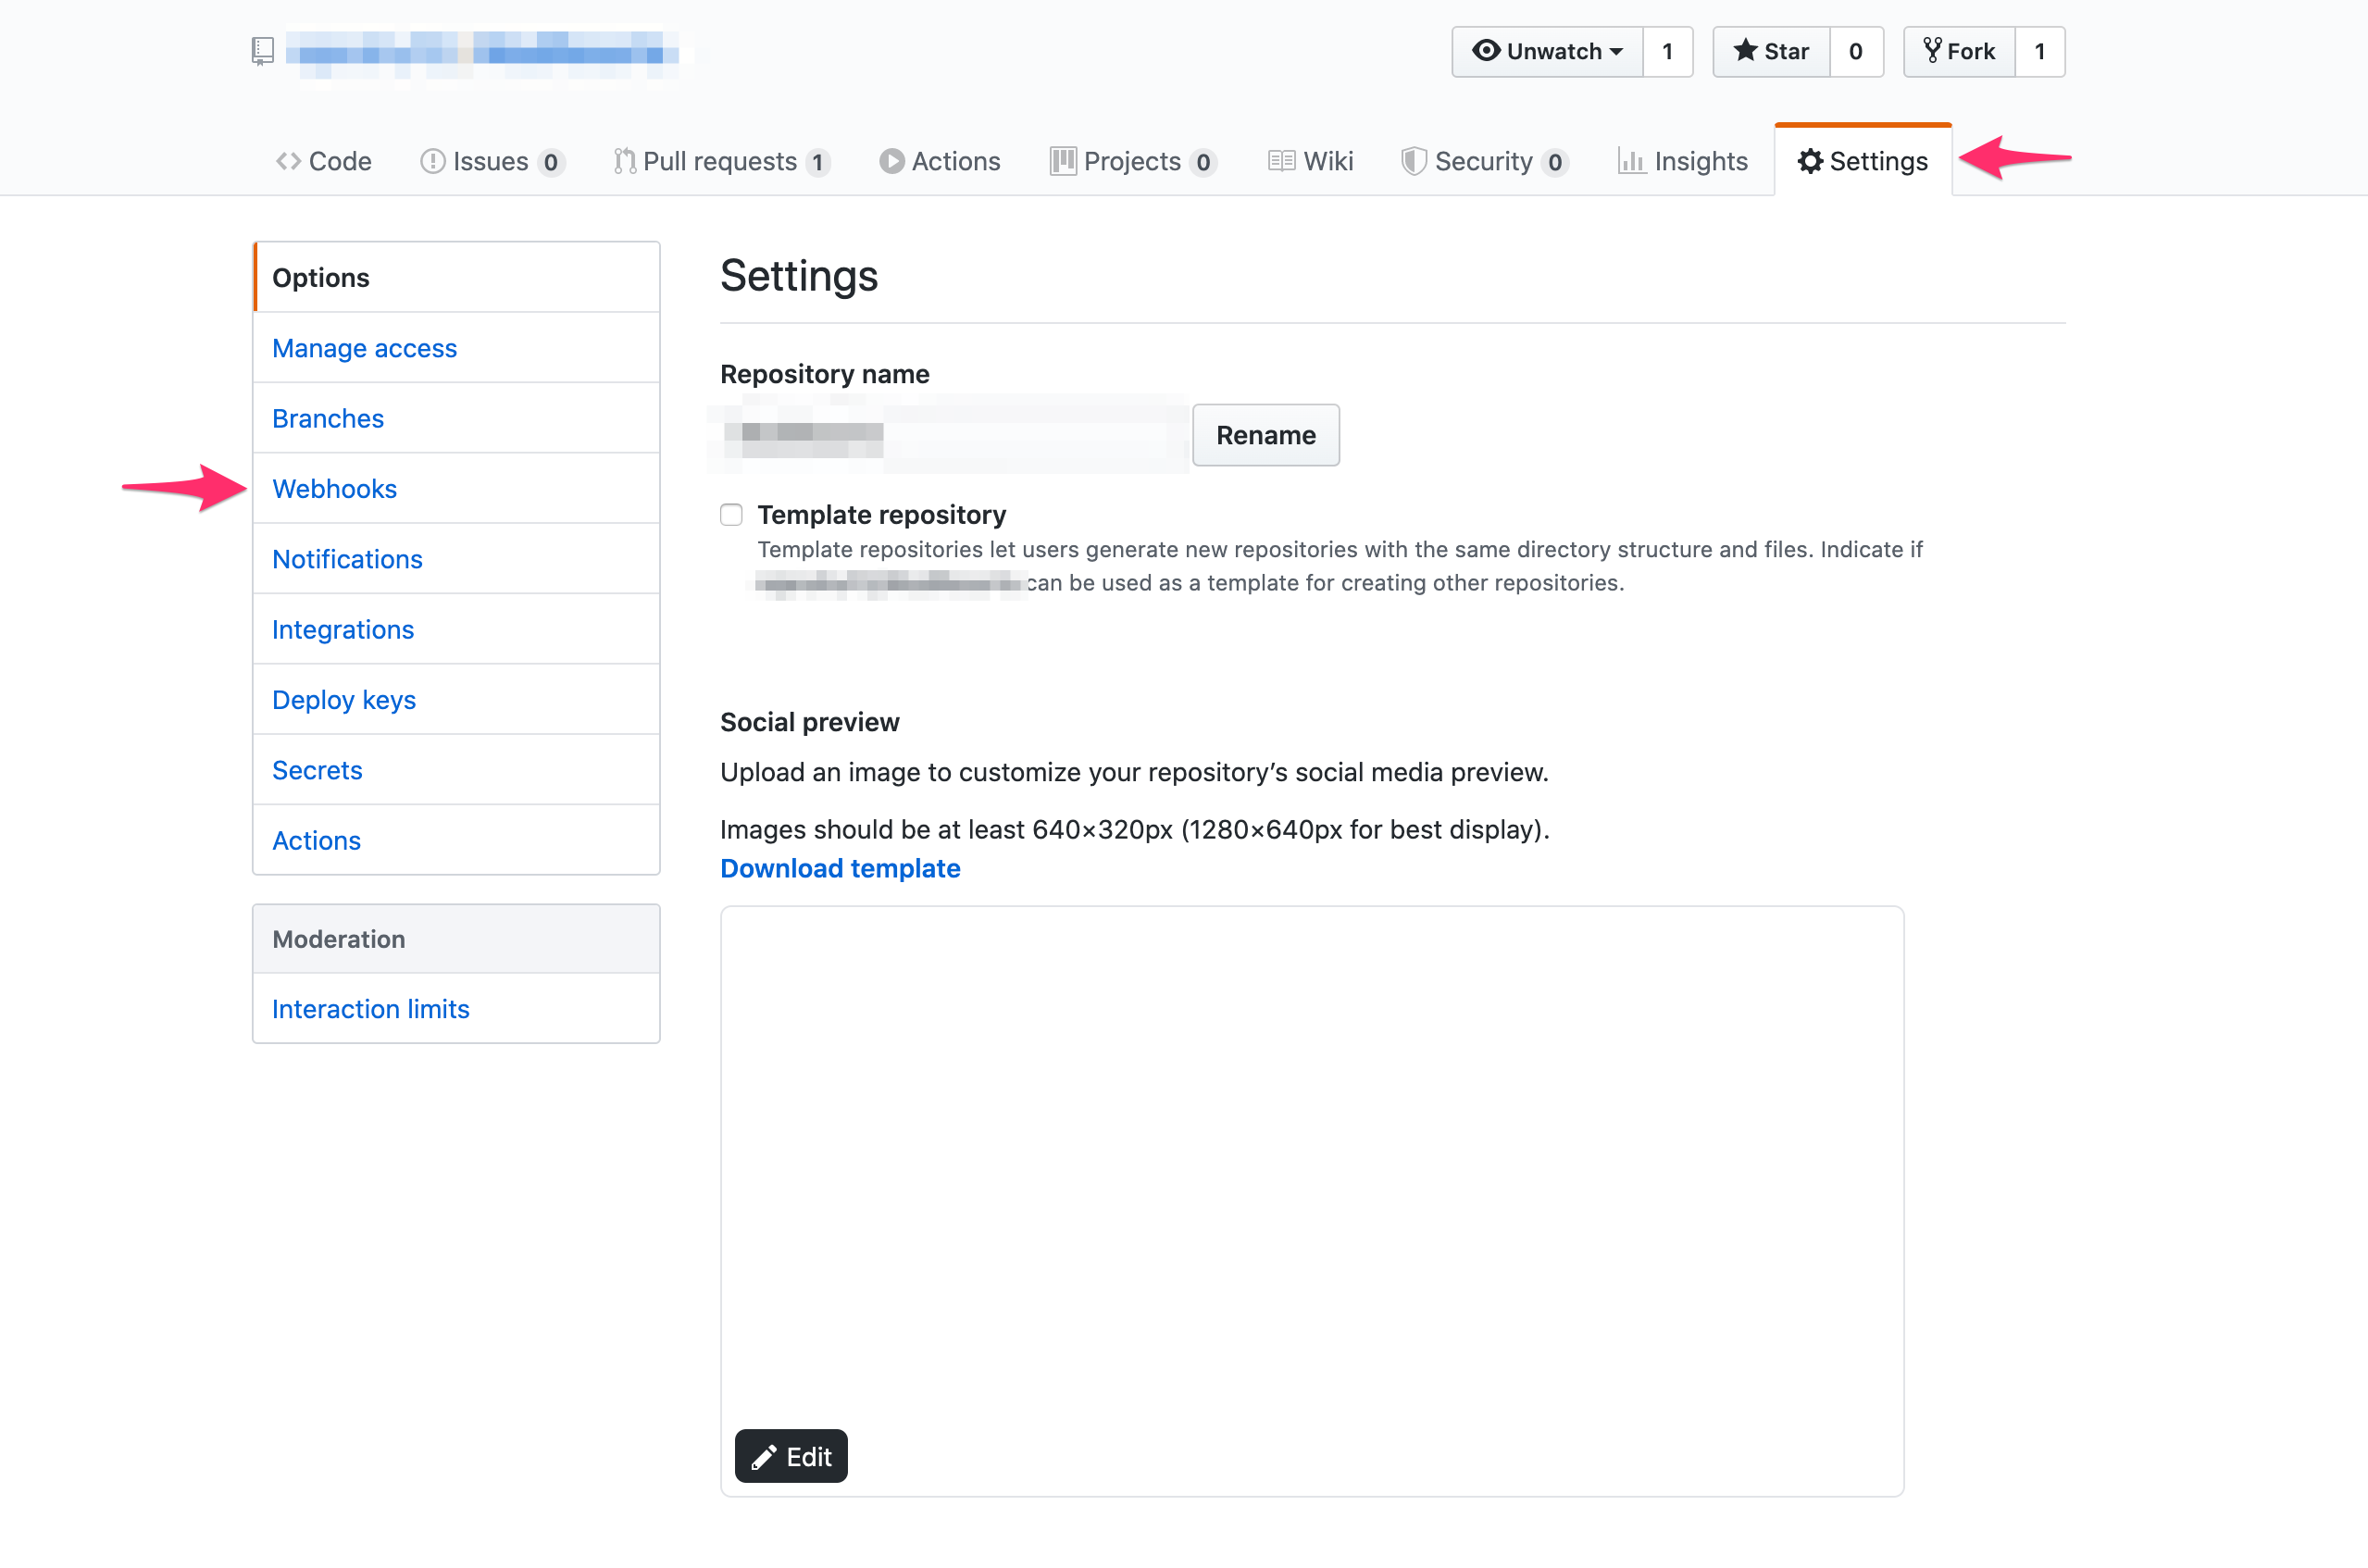
- Click and Webhooks on the left navbar and then click on
Add webhook. - Provide the
Payload URLfield with one the routes that was created previously when tekton triggers are configured. TheContent typeshould be set toapplication/jsonand select the event when you want the webhook to run.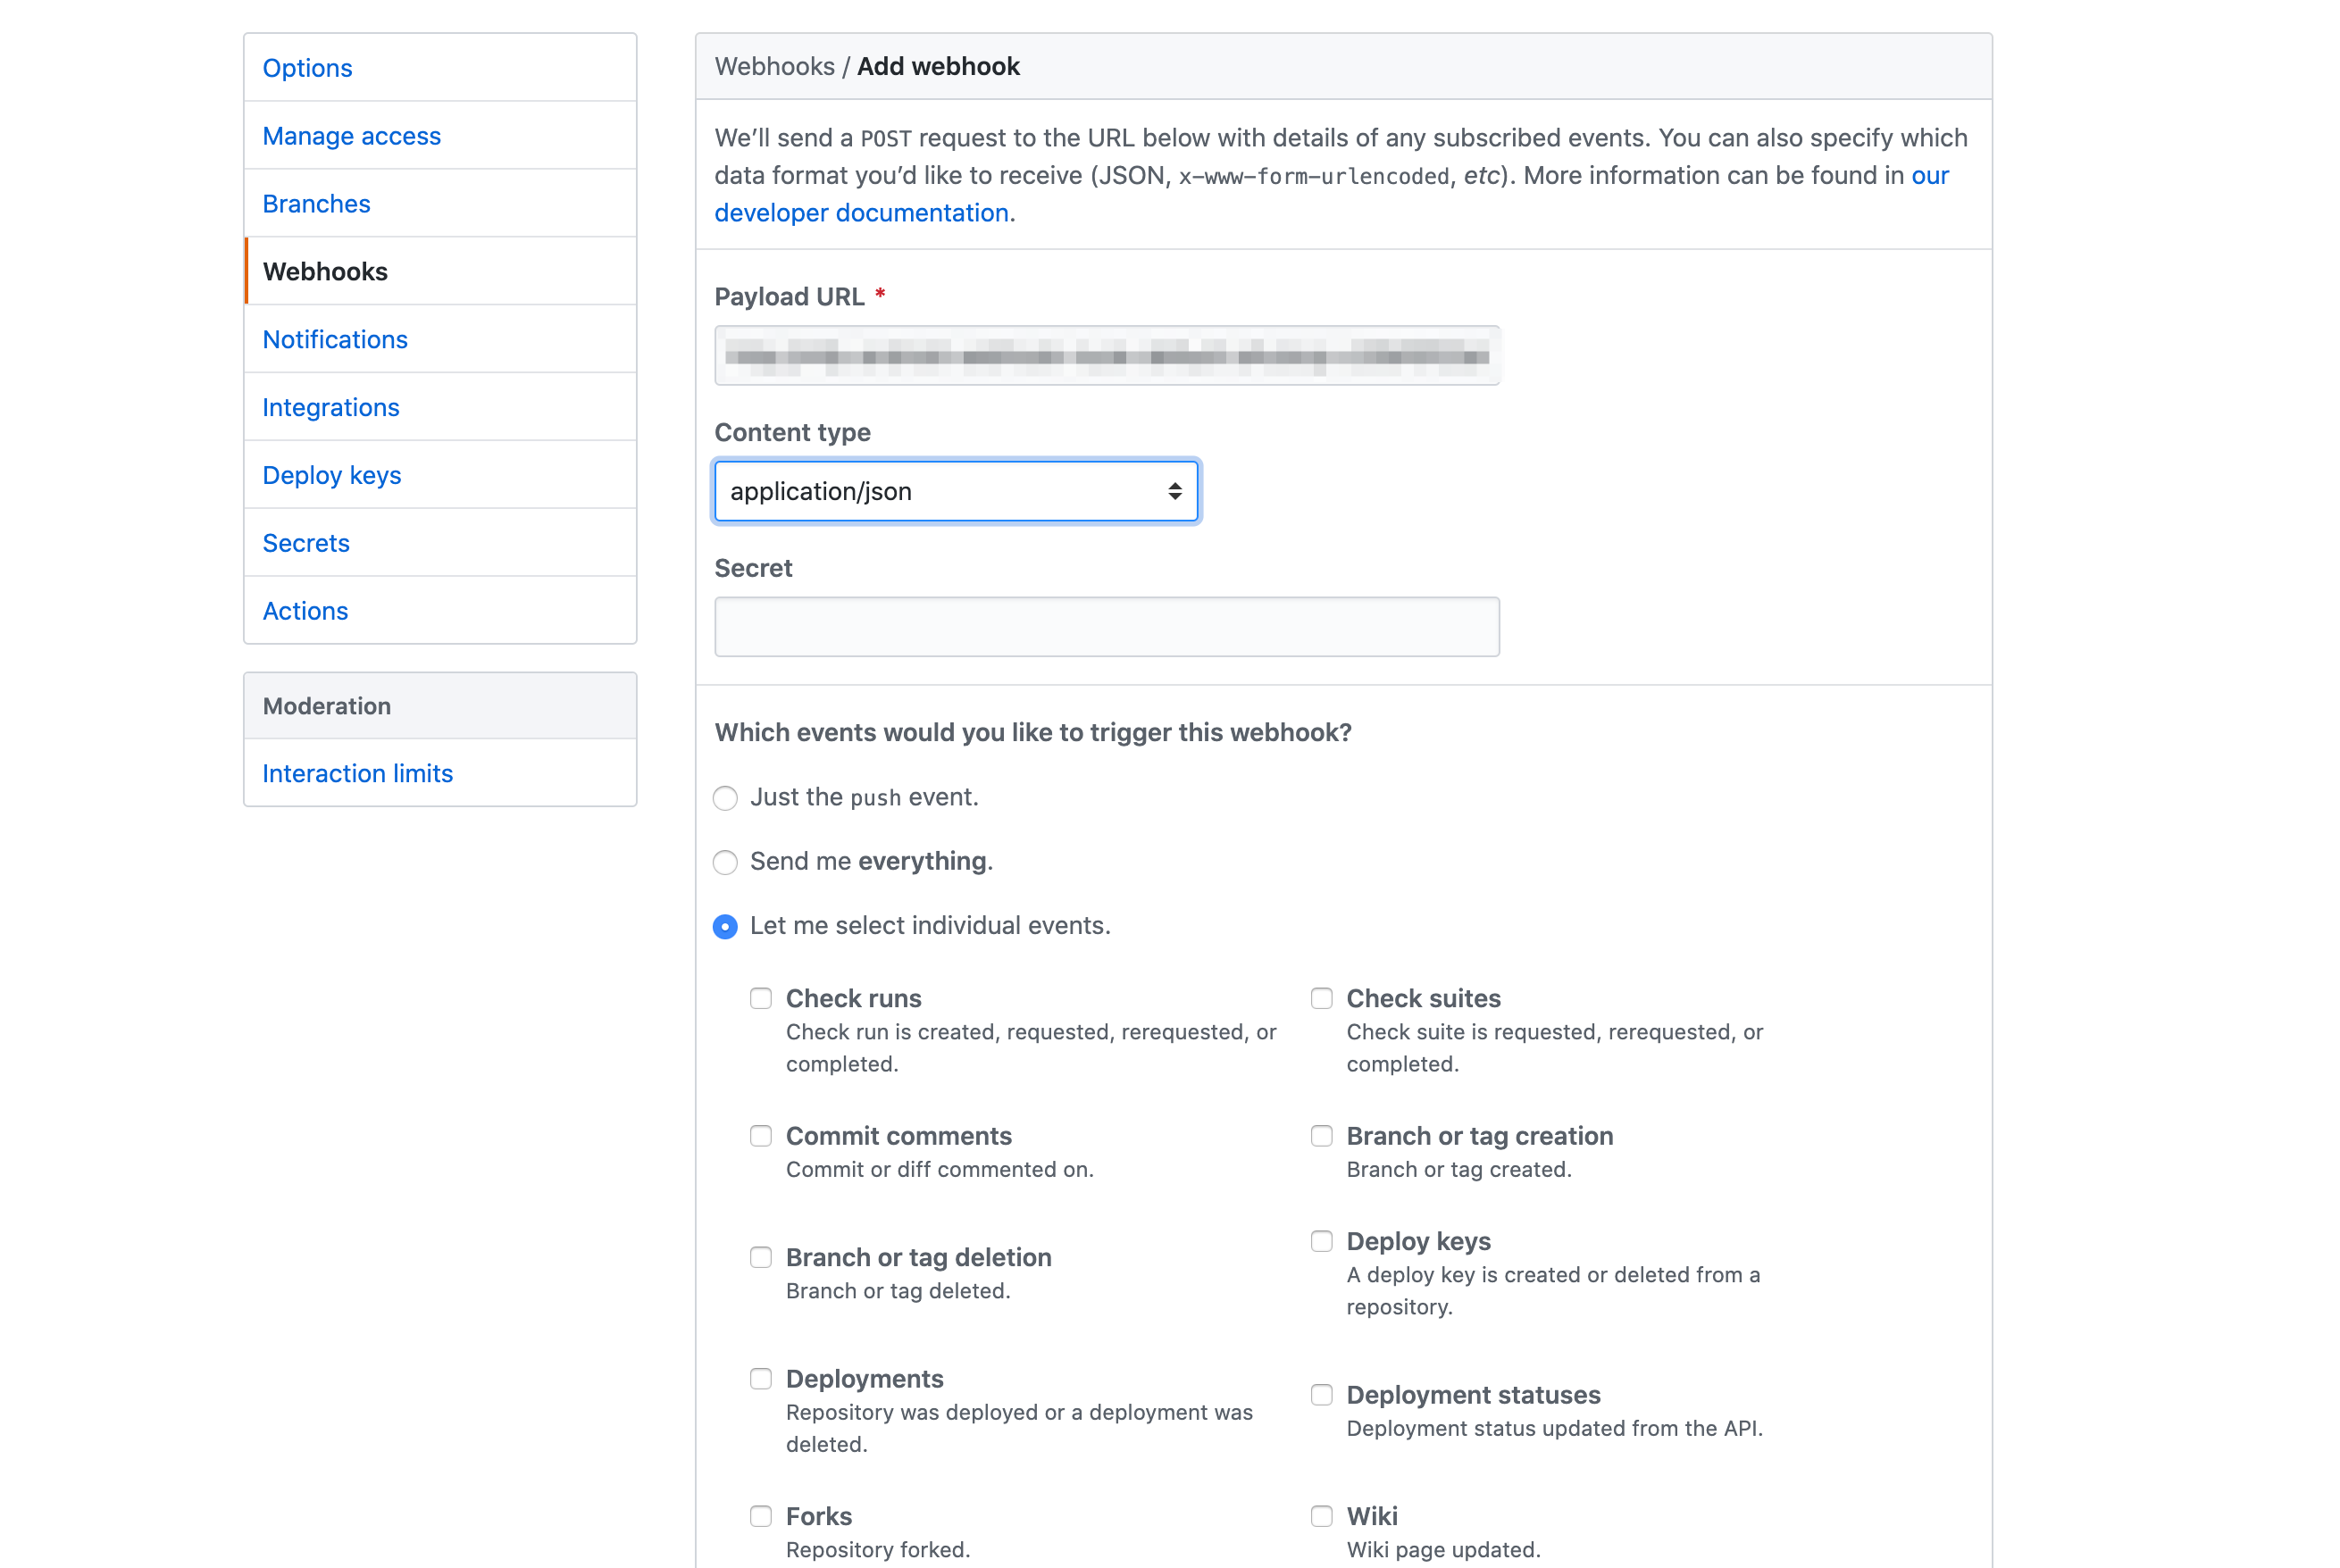
- Click Add Webhook
The event to the git repository shall trigger creation of a PipelineRun configured for that route. To view the logs and status of the PipelineRun. Go to the Tekton dashboard and select the PipelineRuns.
XCode Server setup for building iOS apps
- On a Mac machine, setup Xcode.
- Open Xcode.
- From the top menu select Xcode Server.
- Turn on the Xcode Server to run integrations.
- After the server is turned on go to Permissions section and change Create and View Bots option to
all users. - Go to Accounts section and add a new account with the account type
Xcode Serverand then choose the server that is available. - After the Xcode Server is setup, the bot needs to be configured in order to run integrations and generate an
ipa. Open the iOS project that you want to build in Xcode. - Go to the build log for the project and select By Group option. The configured server should be visible.
- Right click the server and then click Create Bot.
- Give a name for the bot and click Next. Please make sure that the bot name does not contain any spaces. Configure the source control for the bot and click Next.
- In the build configuration under the Actions section, make sure Archive option is selected. Under the Export option select Use Custom Export Options Plist. Make sure you have a
plistfile in the following format.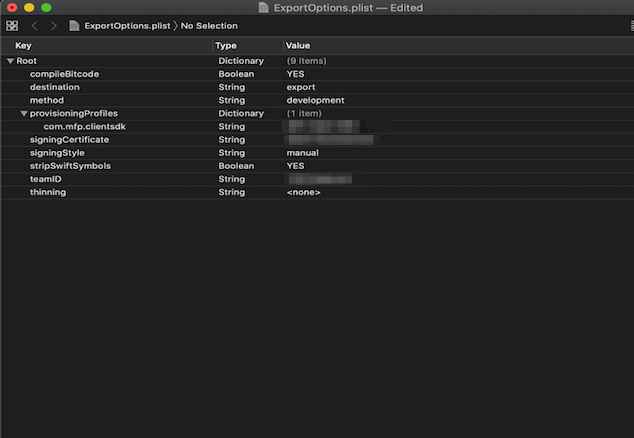
- In the Schedule bot integrations section, select the integrations to run Manually and then click Next.

- Select the relevant build options for your project and click Next.
- In the Certificates and Profiles sections make sure relevant certificates and profiles required for the generating the
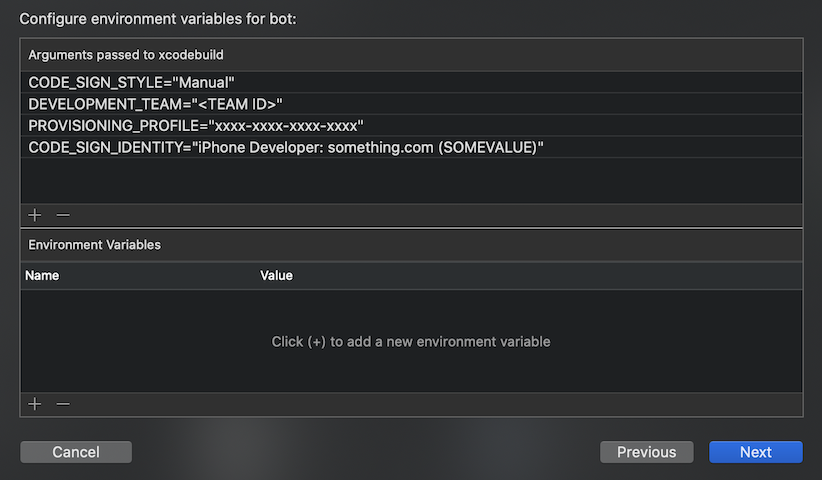
ipaare added to the server and click Next. - Add these arguments and provide relevant values for the xcodebuild command in the Arguments and Environment Variables section and click Next.
- In the Triggers section click Add and select Pre-Integration script, give it a name and add the following script in the script section that downloads the CocoaPod dependencies for the app (if any) and then click Create.
#!/bin/sh
cd $XCS_PRIMARY_REPO_DIR
PATH="/usr/local/bin:/usr/bin:/bin:/usr/sbin:/sbin:/opt/X11/bin:/Library/Frameworks/Mono.framework/Versions/Current/Commands"
. ~/.bash_profile
bundle install
npm install
ionic cordova platform add ios
ionic cordova prepare ios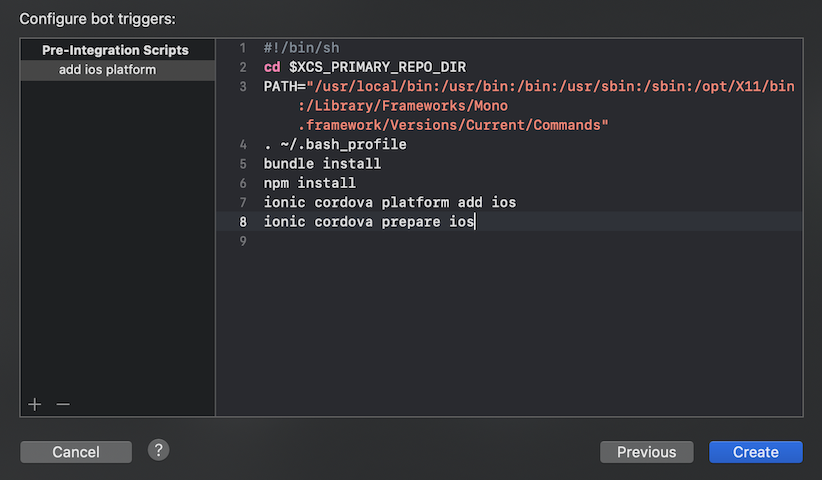
- After the bot is successfully created wait for the integration to run. After the integration is successful, go to the integration and go to Logs. In the logs you should be able to see the botId. The botId is needed for running the integrations from the Tekton pipelines.
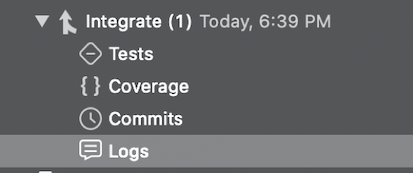
- Now the Xcode Server setup is successful. Use the bot ID to trigger the iOS build pipeline.
Inclusive terminology note: The Mobile First Platform team is making changes to support the IBM® initiative to replace racially biased and other discriminatory language in our code and content with more inclusive language. While IBM values the use of inclusive language, terms that are outside of IBM's direct influence are sometimes required for the sake of maintaining user understanding. As other industry leaders join IBM in embracing the use of inclusive language, IBM will continue to update the documentation to reflect those changes.