Handling Push Notifications in Cordova
improve this page | report issueOverview
Before iOS, Android and Windows Cordova applications are able to receive and display push notifications, the cordova-plugin-mfp-push Cordova plug-in needs to be added to the Cordova project. Once an application has been configured, MobileFirst-provided Notifications API can be used in order to register & unregister devices, subscribe & unsubscribe tags and handle notifications. In this tutorial, you will learn how to handle push notification in Cordova applications.
Note: Authenticated notifications are currently not supported in Cordova applications due to a defect. However a workaround is provided: each
MFPPushAPI call can be wrapped byWLAuthorizationManager.obtainAccessToken("push.mobileclient").then( ... );. The provided sample application uses this workround.
For information about Silent or Interactive notifications in iOS, see:
Prequisites:
- Make sure you have read the following tutorials:
- MobileFirst Server to run locally, or a remotely running MobileFirst Server
- MobileFirst CLI installed on the developer workstation
- Cordova CLI installed on the developer workstation
Jump to
Notifications Configuration
Create a new Cordova project or use an existing one, and add one or more of the supported platforms: iOS, Android, Windows.
If the MobileFirst Cordova SDK is not already present in the project, follow the instructions in the Adding the Mobile Foundation SDK to Cordova applications tutorial.
Adding the Push plug-in
-
From a command-line window, navigate to the root of the Cordova project.
-
Add the push plug-in to by running the command:
cordova plugin add cordova-plugin-mfp-push -
Build the Cordova project by running the command:
cordova build
iOS platform
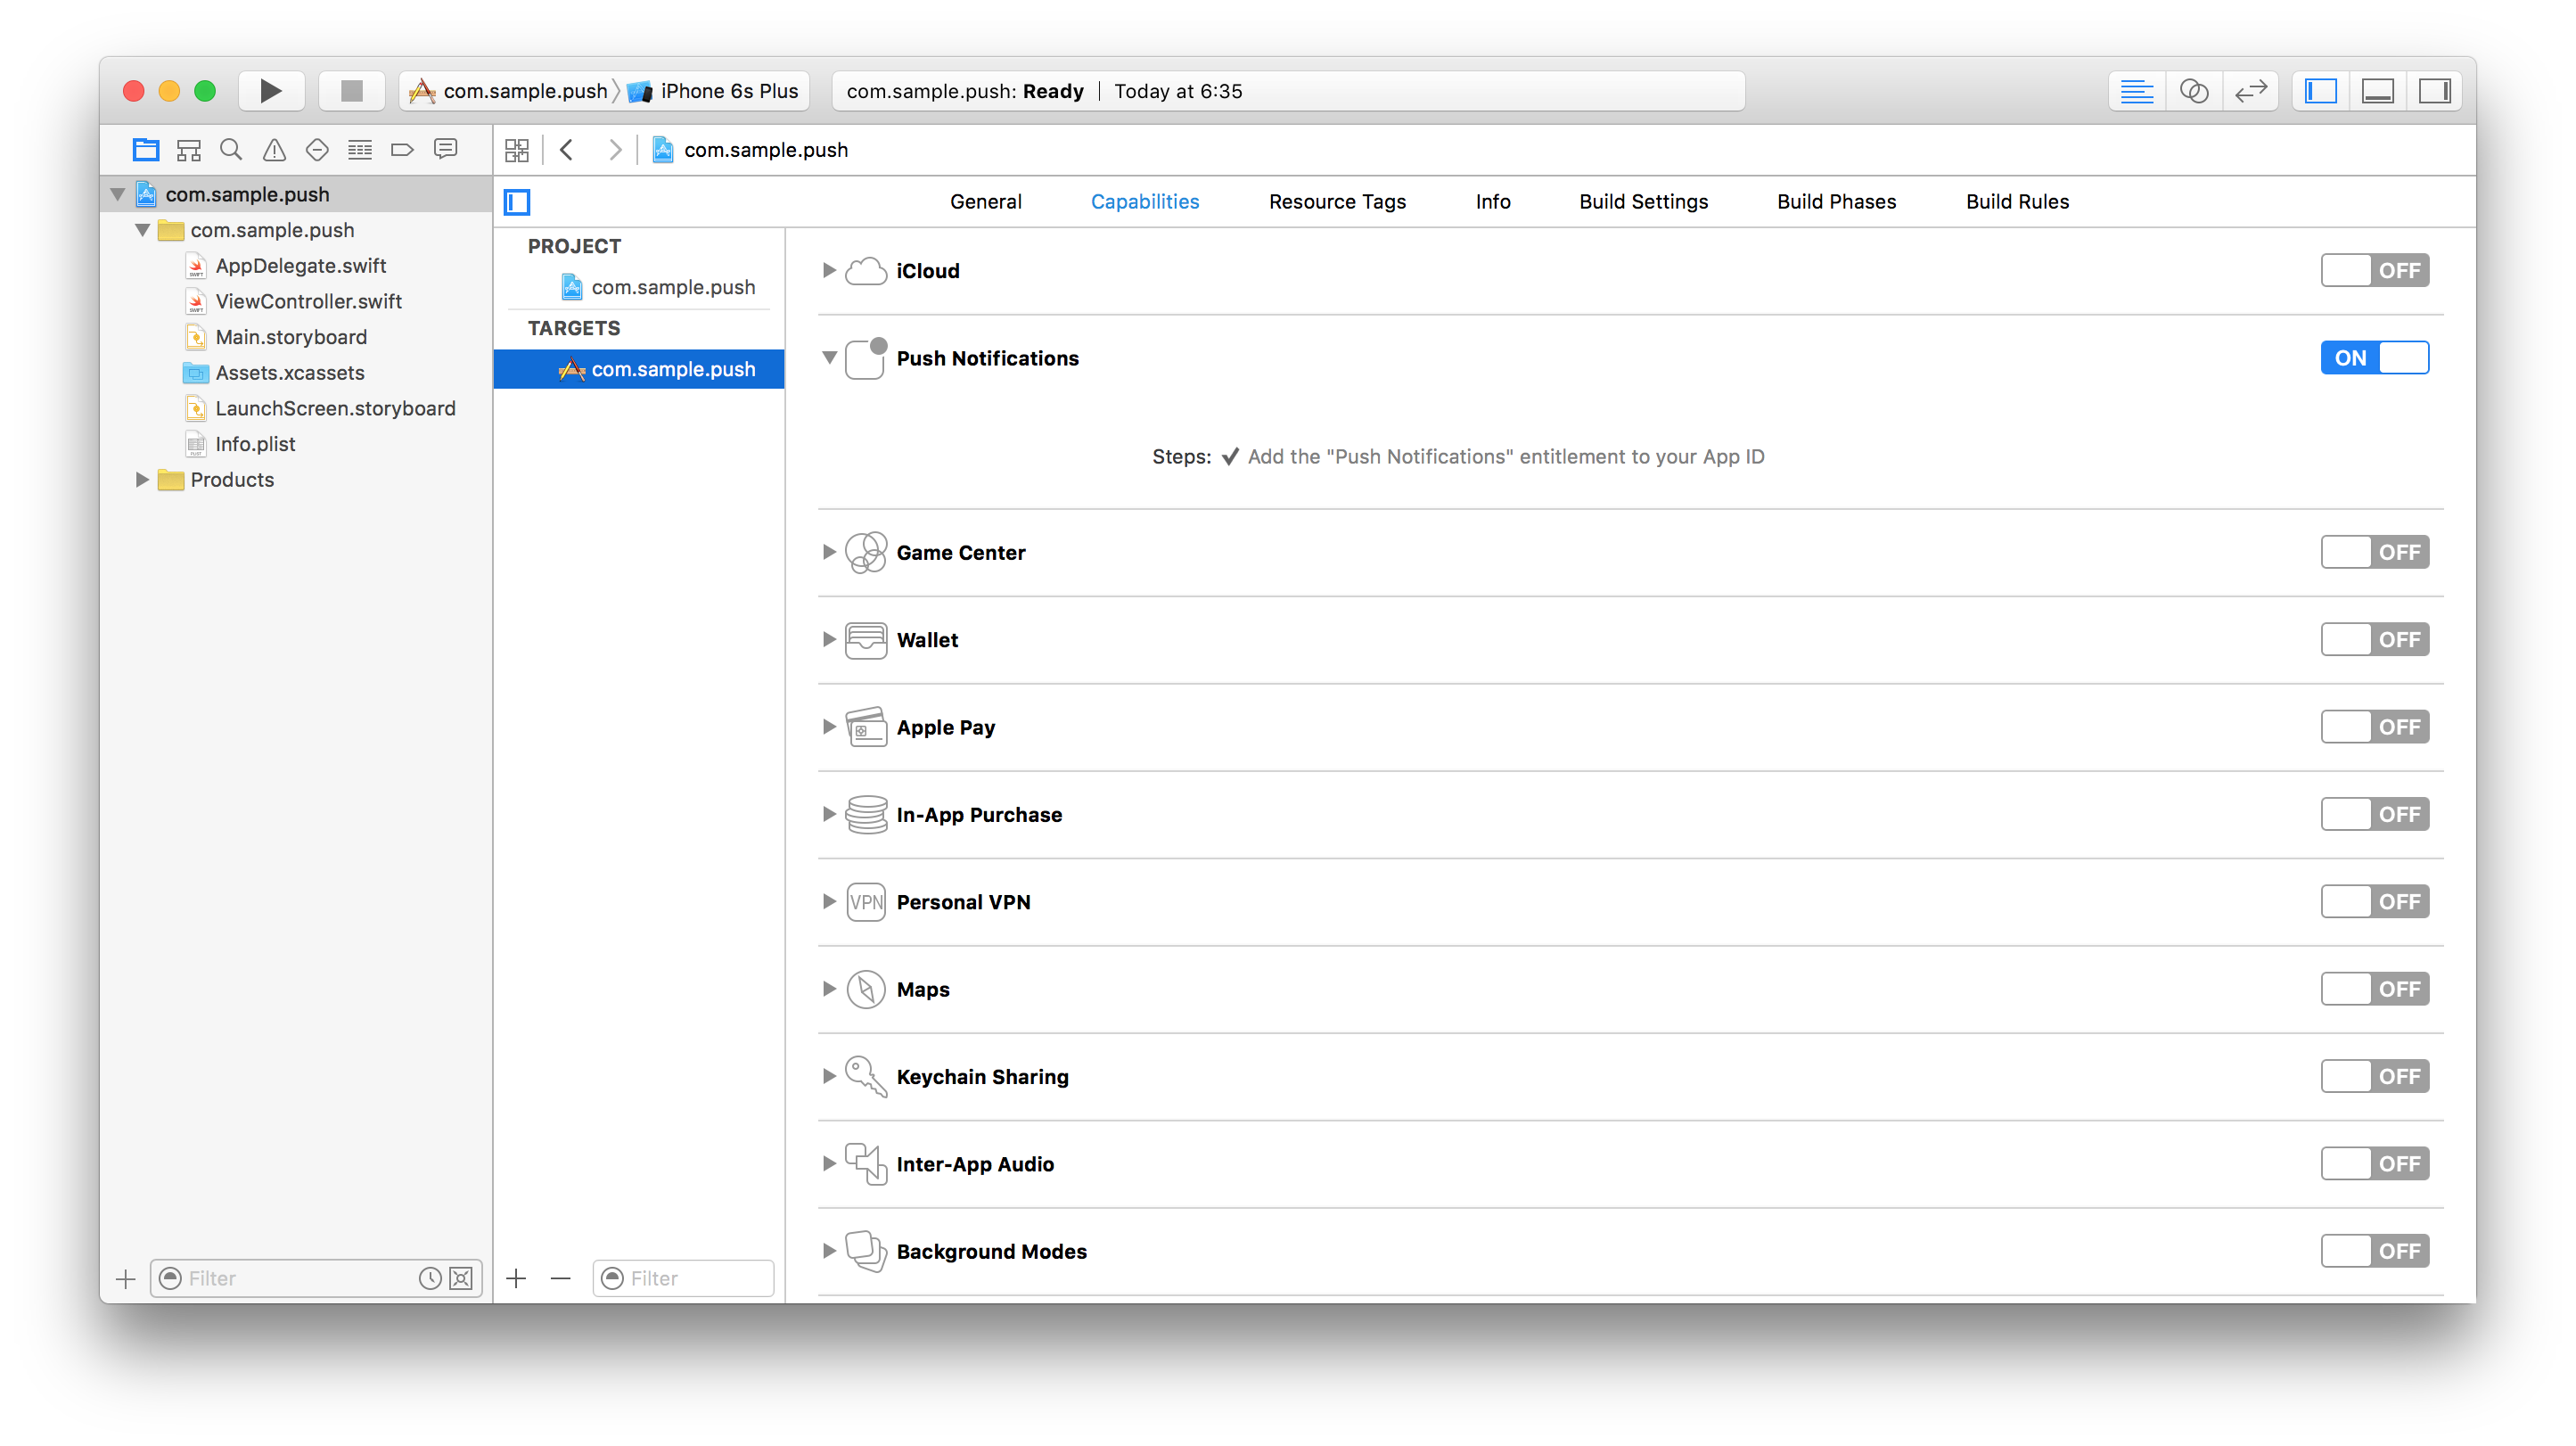
The iOS platform requires an additional step.
In Xcode, enable push notifications for your application in the Capabilities screen.
Important: the bundleId selected for the application must match the AppId that you have previously created in the Apple Developer site. See the [Push Notifications Overview] tutorial.
Android platform
The Android platform requires an additional step.
In Android Studio, add the following activity to the application tag:
<activity android:name="com.ibm.mobilefirstplatform.clientsdk.android.push.api.MFPPushNotificationHandler" android:theme="@android:style/Theme.NoDisplay"/>
Notifications API
Client-side
| Javascript Function | Description |
|---|---|
MFPPush.initialize(success, failure) |
Initialize the MFPPush instance. |
MFPPush.isPushSupported(success, failure) |
Does the device support push notifications. |
MFPPush.registerDevice(options, success, failure) |
Registers the device with the Push Notifications Service. |
MFPPush.getTags(success, failure) |
Retrieves all the tags available in a push notification service instance. |
MFPPush.subscribe(tag, success, failure) |
Subscribes to a particular tag. |
MFPPush.getSubsciptions(success, failure) |
Retrieves the tags device is currently subscribed to |
MFPPush.unsubscribe(tag, success, failure) |
Unsubscribes from a particular tag. |
MFPPush.unregisterDevice(success, failure) |
Unregisters the device from the Push Notifications Service |
API implementation
Initialization
Initialize the MFPPush instance.
- Required for the client application to connect to MFPPush service with the right application context.
- The API method should be called first before using any other MFPPush APIs.
- Registers the callback function to handle received push notifications.
MFPPush.initialize (
    function(successResponse) {
        alert("Successfully intialized");
        MFPPush.registerNotificationsCallback(notificationReceived);
    },
    function(failureResponse) {
        alert("Failed to initialize");
    }
);
Is push supported
Check if the device supports push notifications.
MFPPush.isPushSupported (
    function(successResponse) {
        alert("Push Supported: " + successResponse);
    },
    function(failureResponse) {
        alert("Failed to get push support status");
    }
);
Register device
Register the device to the push notifications service. If no options are required, options can be set to null.
var options = { };
MFPPush.registerDevice(
    options,
    function(successResponse) {
        alert("Successfully registered");
    },
    function(failureResponse) {
        alert("Failed to register");
    }
);
Get tags
Retrieve all the available tags from the push notification service.
MFPPush.getTags (
    function(tags) {
        alert(JSON.stringify(tags));
},
    function() {
        alert("Failed to get tags");
    }
);
Subscribe
Subscribe to desired tags.
var tags = ['sample-tag1','sample-tag2'];

MFPPush.subscribe(
    tags,
    function(tags) {
        alert("Subscribed successfully");
    },
    function() {
        alert("Failed to subscribe");
    }
);
Get subscriptions
Retrieve tags the device is currently subscribed to.
MFPPush.getSubscriptions (
    function(subscriptions) {
        alert(JSON.stringify(subscriptions));
    },
    function() {
        alert("Failed to get subscriptions");
    }
);
Unsubscribe
Unsubscribe from tags.
var tags = ['sample-tag1','sample-tag2'];

MFPPush.unsubscribe(
    tags,
    function(tags) {
        alert("Unsubscribed successfully");
    },
    function() {
        alert("Failed to unsubscribe");
    }
);
Unregister
Unregister the device from push notification service instance.
MFPPush.unregisterDevice(
    function(successResponse) {
        alert("Unregistered successfully");
    },
    function() {
        alert("Failed to unregister");
    }
);
Handling a push notification
You can handle a received push notification by operating on its response object in the registered callback function.
var notificationReceived = function(message) {
    alert(JSON.stringify(message));
};
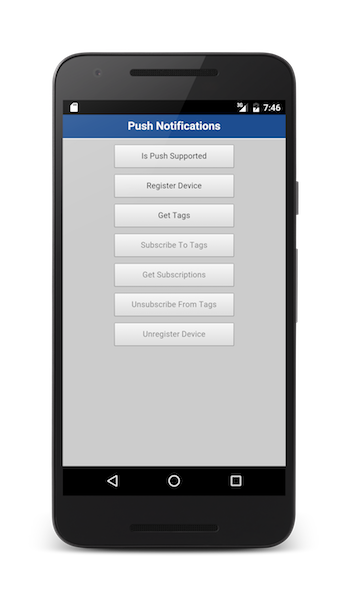
Sample application
Click to download the Cordova project.
Note: The latest version of Google Play Services is required to be installed on any Android device for the sample to run.
Sample usage
Follow the sample’s README.md file for instructions.
▲Inclusive terminology note: The Mobile First Platform team is making changes to support the IBM® initiative to replace racially biased and other discriminatory language in our code and content with more inclusive language. While IBM values the use of inclusive language, terms that are outside of IBM's direct influence are sometimes required for the sake of maintaining user understanding. As other industry leaders join IBM in embracing the use of inclusive language, IBM will continue to update the documentation to reflect those changes.