Xamarin end-to-end demonstration
improve this page | report issueOverview
The purpose of this demonstration is to experience an end-to-end flow:
- A sample application that is bundled with the MobileFirst Xamarin client SDK is registered with the MobileFirst Operations Console.
- A new or provided adapter is deployed to the MobileFirst Operations Console.
- The application logic is changed to make a resource request.
End result:
- Successfully pinging the MobileFirst Server.
Prerequisites:
- Xamarin Studio
- Optional. Stand-alone MobileFirst Server (download)
1. Starting the MobileFirst Server
Make sure you have created a Mobile Foundation instance, or
If using the MobileFirst Developer Kit, navigate to the server’s folder and run the command: ./run.sh in Mac and Linux or run.cmd in Windows.
2. Creating an application
In a browser window, open the MobileFirst Operations Console by loading the URL: http://your-server-host:server-port/mfpconsole. If running locally, use: http://localhost:9080/mfpconsole. The username/password are admin/admin.
- Click the New button next to Applications
- Select the Android platform
- Enter com.ibm.mfpstarterxamarin as the application identifier (depending on the application scaffold you will download in the next step)
- Enter 1.0 as the version value
- Click on Register application
3. Editing application logic
- Create a Xamarin project.
- Add the Xamarin SDK as mentioned in the Adding the SDK tutorial.
-
Add a property of type
IWorklightClientin any class file as below./// <summary> /// Gets or sets the worklight sample client. /// </summary> /// <value>The worklight client.</value> public static IWorklightClient WorklightClient {get; set;} -
If you’re developing for iOS, paste the following code inside FinishedLaunching method of the AppDelegate.cs file:
<ClassName>.WorklightClient = WorklightClient.CreateInstance();Replace
<ClassName>with the name of your Class. -
If you’re developing for Android, include the following line of code inside OnCreate method of the MainActivity.cs file:
<ClassName>.WorklightClient = WorklightClient.CreateInstance(this);Replace
<ClassName>with the name of your Class. -
Define a method to obtain the access token and perform a resource request to the MFP Server as below.
public async void ObtainToken() { try { IWorklightClient _newClient = App.WorklightClient; WorklightAccessToken accessToken = await _newClient.AuthorizationManager.ObtainAccessToken(""); if (accessToken.Value != null && accessToken.Value != "") { System.Diagnostics.Debug.WriteLine("Received the following access token value: " + accessToken.Value); StringBuilder uriBuilder = new StringBuilder().Append("/adapters/javaAdapter/resource/greet"); WorklightResourceRequest request = _newClient.ResourceRequest(new Uri(uriBuilder.ToString(), UriKind.Relative), "GET"); request.SetQueryParameter("name", "world"); WorklightResponse response = await request.Send(); System.Diagnostics.Debug.WriteLine("Success: " + response.ResponseText); } } catch (Exception e) { System.Diagnostics.Debug.WriteLine("An error occurred: '{0}'", e); } } } } - Invoke ObtainToken method within a class constructor or on click of a button.
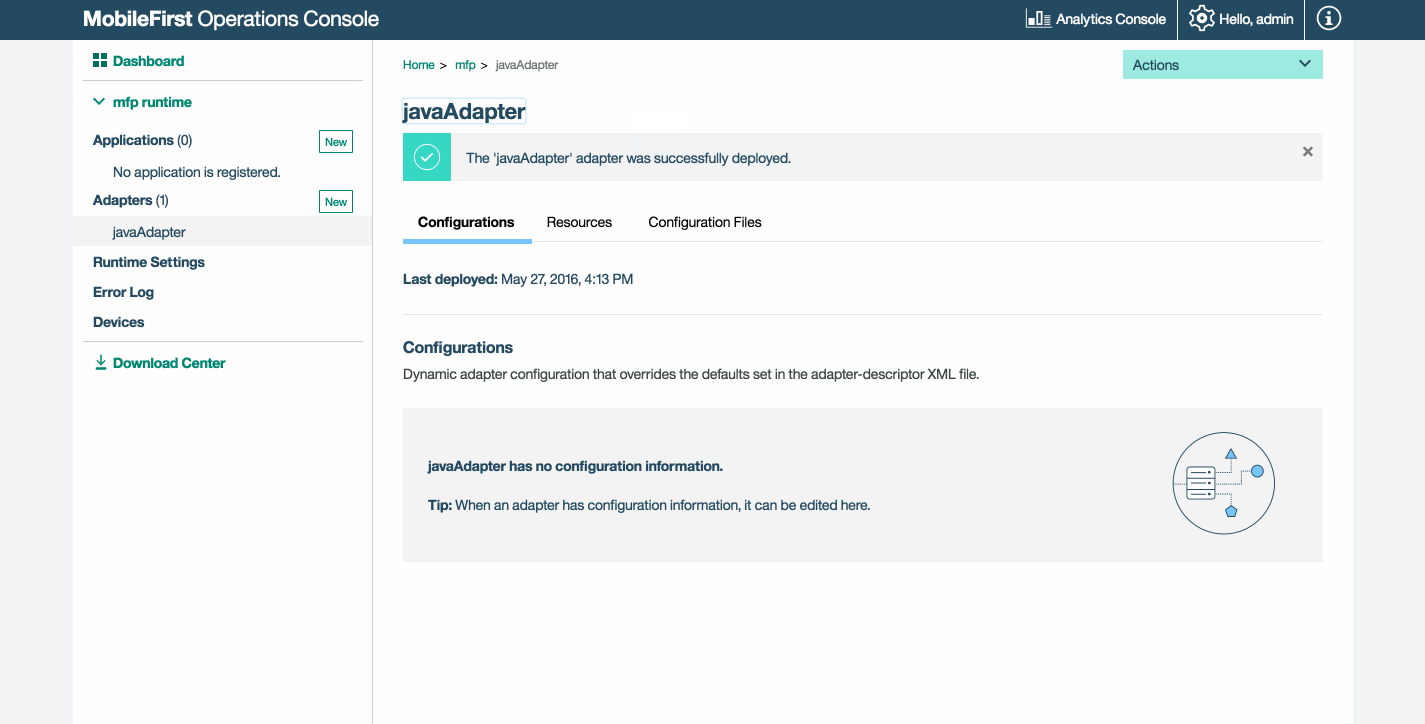
4. Deploy an adapter
Download this prepared .adapter artifact and deploy it from the MobileFirst Operations Console using the Actions → Deploy adapter action.
Alternatively, click the New button next to Adapters.
-
Select the Actions → Download sample option. Download the “Hello World” Java adapter sample.
If Maven and MobileFirst CLI are not installed, follow the on-screen Set up your development environment instructions.
-
From a Command-line window, navigate to the adapter’s Maven project root folder and run the command:
mfpdev adapter build -
When the build finishes, deploy it from the MobileFirst Operations Console using the Actions → Deploy adapter action. The adapter can be found in the [adapter]/target folder.
5. Testing the application
- In Xamarin Studio, select the
mfpclient.propertiesfile and edit the protocol, host and port properties with the correct values for your MobileFirst Server.- If using a local MobileFirst Server, the values are typically http, localhost and 9080.
- If using a remote MobileFirst Server (on IBM Cloud), the values are typically https, your-server-address and 443.
- If using a Kubernetes cluster on IBM Cloud Private and if the deployment is of type NodePort, the value of the port would typically be the NodePort exposed by the service in Kubernetes cluster.
- Press the Play button.
Results
- Clicking the Ping MobileFirst Server button will display Connected to MobileFirst Server.
- If the application was able to connect to the MobileFirst Server, a resource request call using the deployed Java adapter will take place.
The adapter response is then printed in the Xamarin Studio Console.

Next steps
Learn more on using adapters in applications, and how to integrate additional services such as Push Notifications, using the MobileFirst security framework and more:
- Review the Adapters development tutorials
- Review the Authentication and security tutorials
- Review All Tutorials
Inclusive terminology note: The Mobile First Platform team is making changes to support the IBM® initiative to replace racially biased and other discriminatory language in our code and content with more inclusive language. While IBM values the use of inclusive language, terms that are outside of IBM's direct influence are sometimes required for the sake of maintaining user understanding. As other industry leaders join IBM in embracing the use of inclusive language, IBM will continue to update the documentation to reflect those changes.