Interactive notifications
improve this page | report issueOverview
With interactive notification, when a notification arrives, users can take actions without opening the application. When an interactive notification arrives, the device shows action buttons along with the notification message.
Interactive notifications are supported on devices with iOS version 8 onwards and Android v7.0 (API level 24) onwards. If an interactive notification is sent to an iOS or Android device with earlier versions notification actions are not displayed.
Sending interactive push notification
Prepare the notification and send notification. For more information, see Sending push notifications.
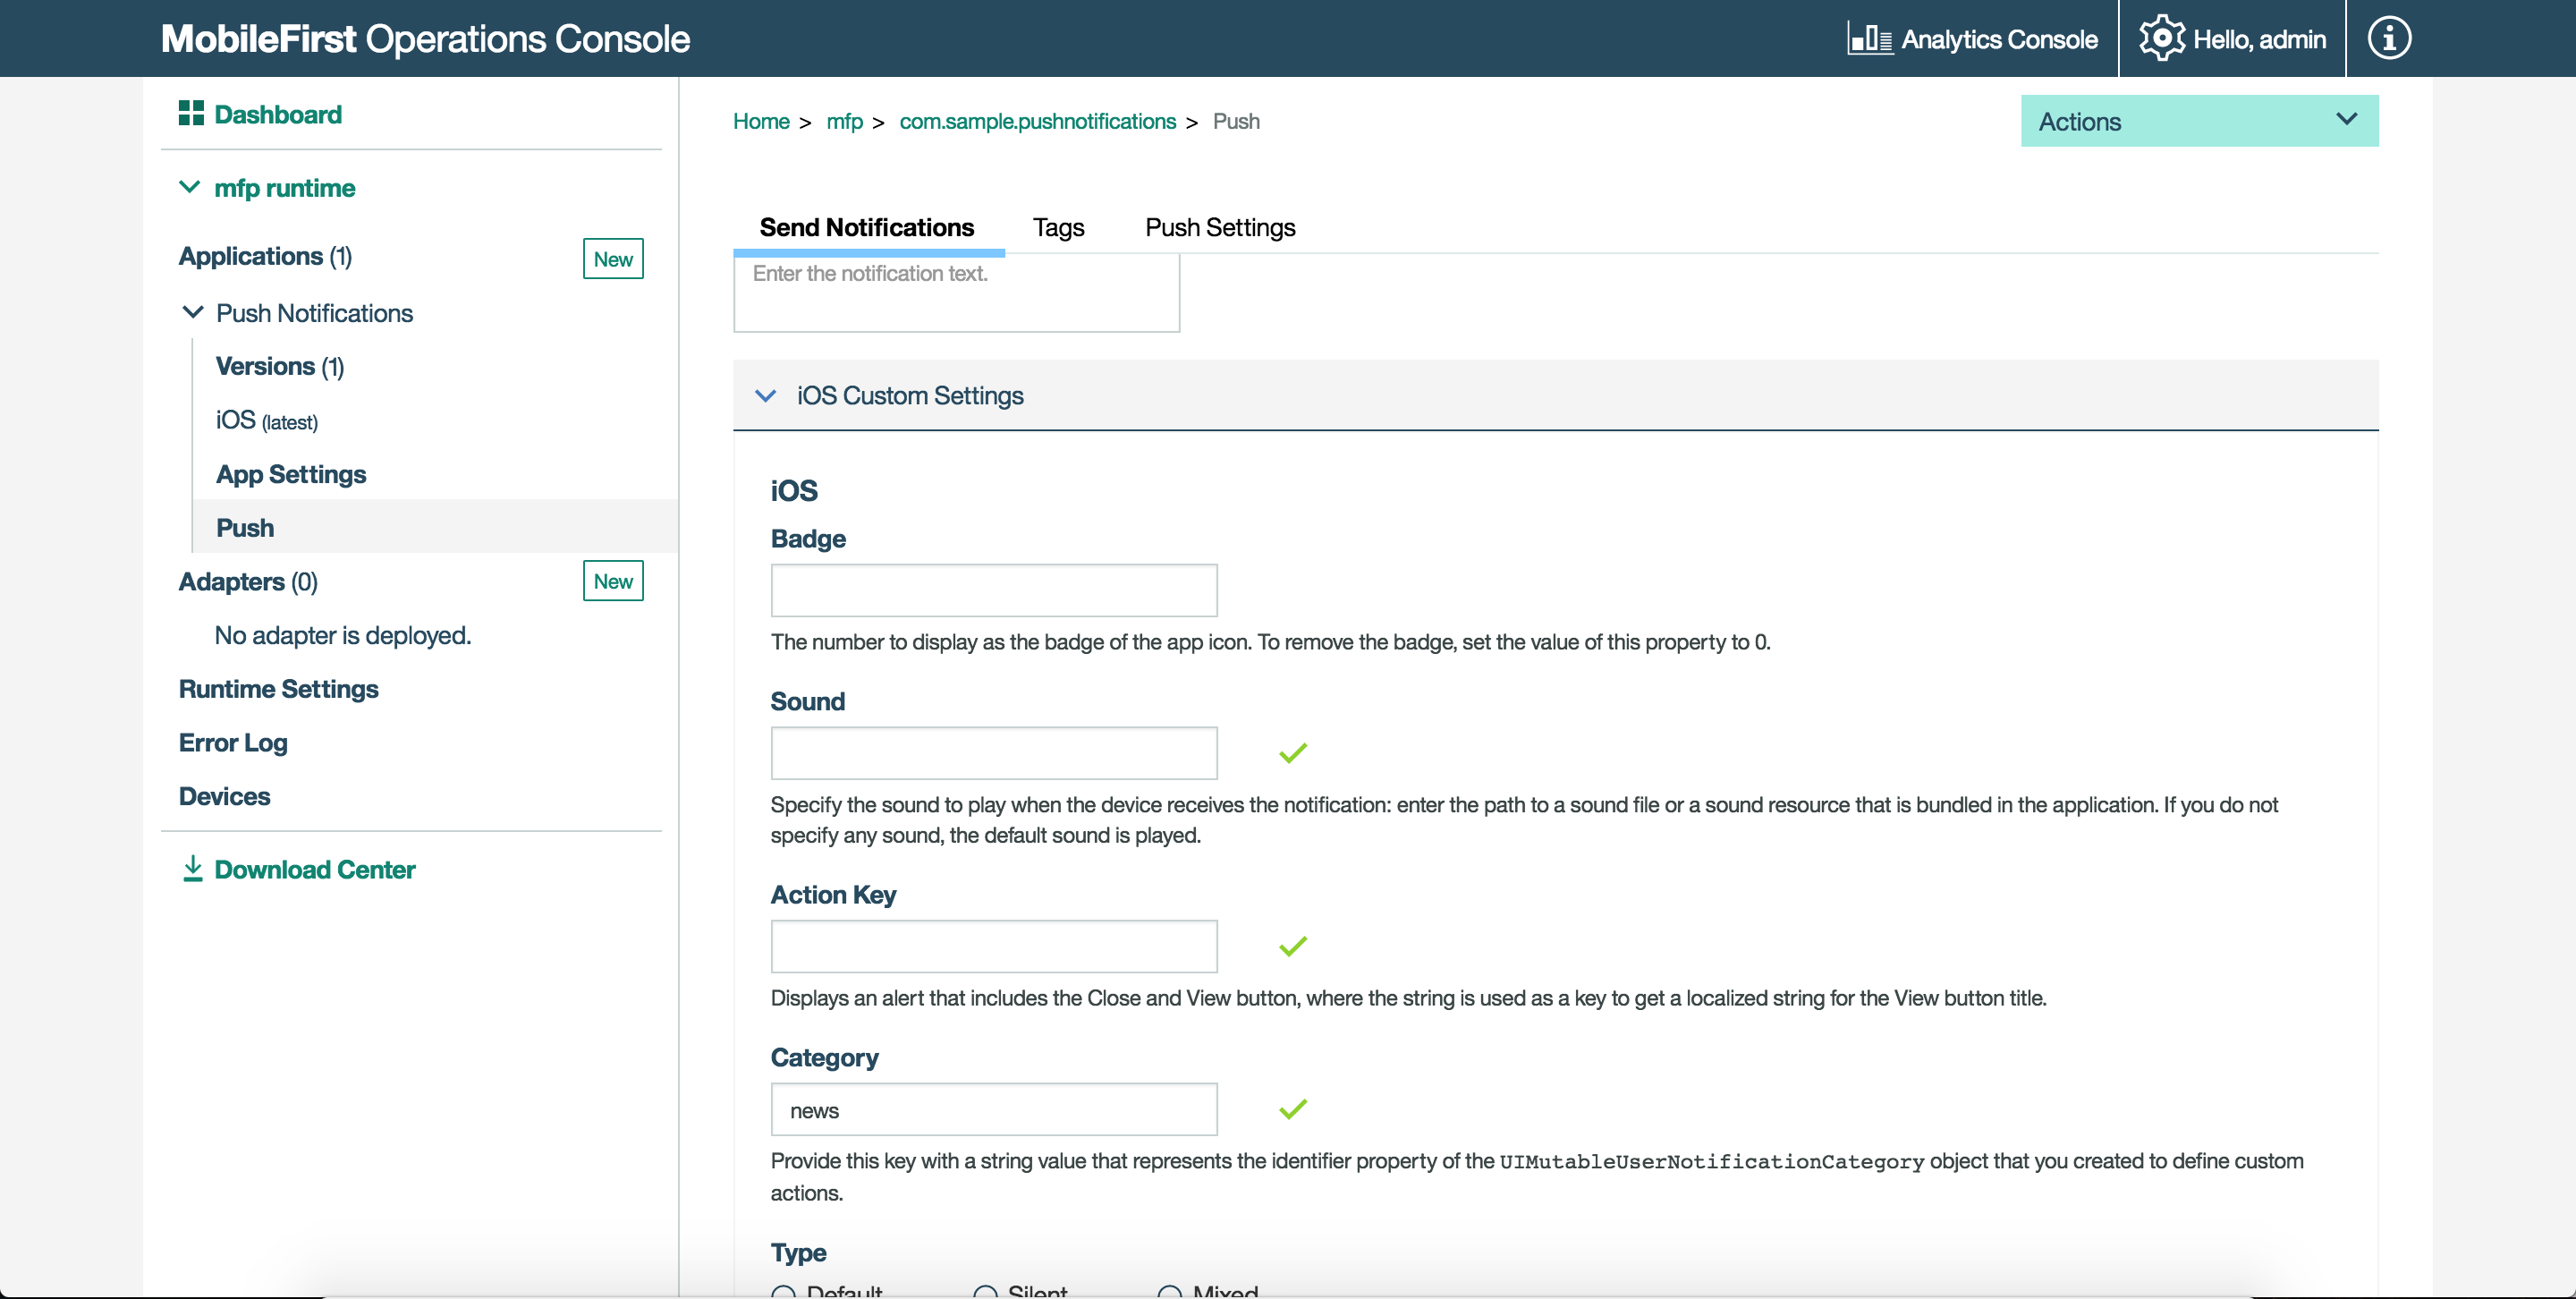
Interactive Notifications are centered around notification actions and grouping of notification actions into categories. Firstly, define the various notification actions that can be offered to the application user. Next, define categories where each category groups one or more notification actions. Most importantly assign a unique identifier for each category. Then, to send Interactive Push Notifications to iOS devices specify the category identifier under MobileFirst Operations Console → [your application] → Push → Send Notifications → iOS custom settings and / or MobileFirst Operations Console → [your application] → Push → Send Notifications → Android custom settings Based on the category identifier, the notification action buttons are displayed on the mobile device. For example:
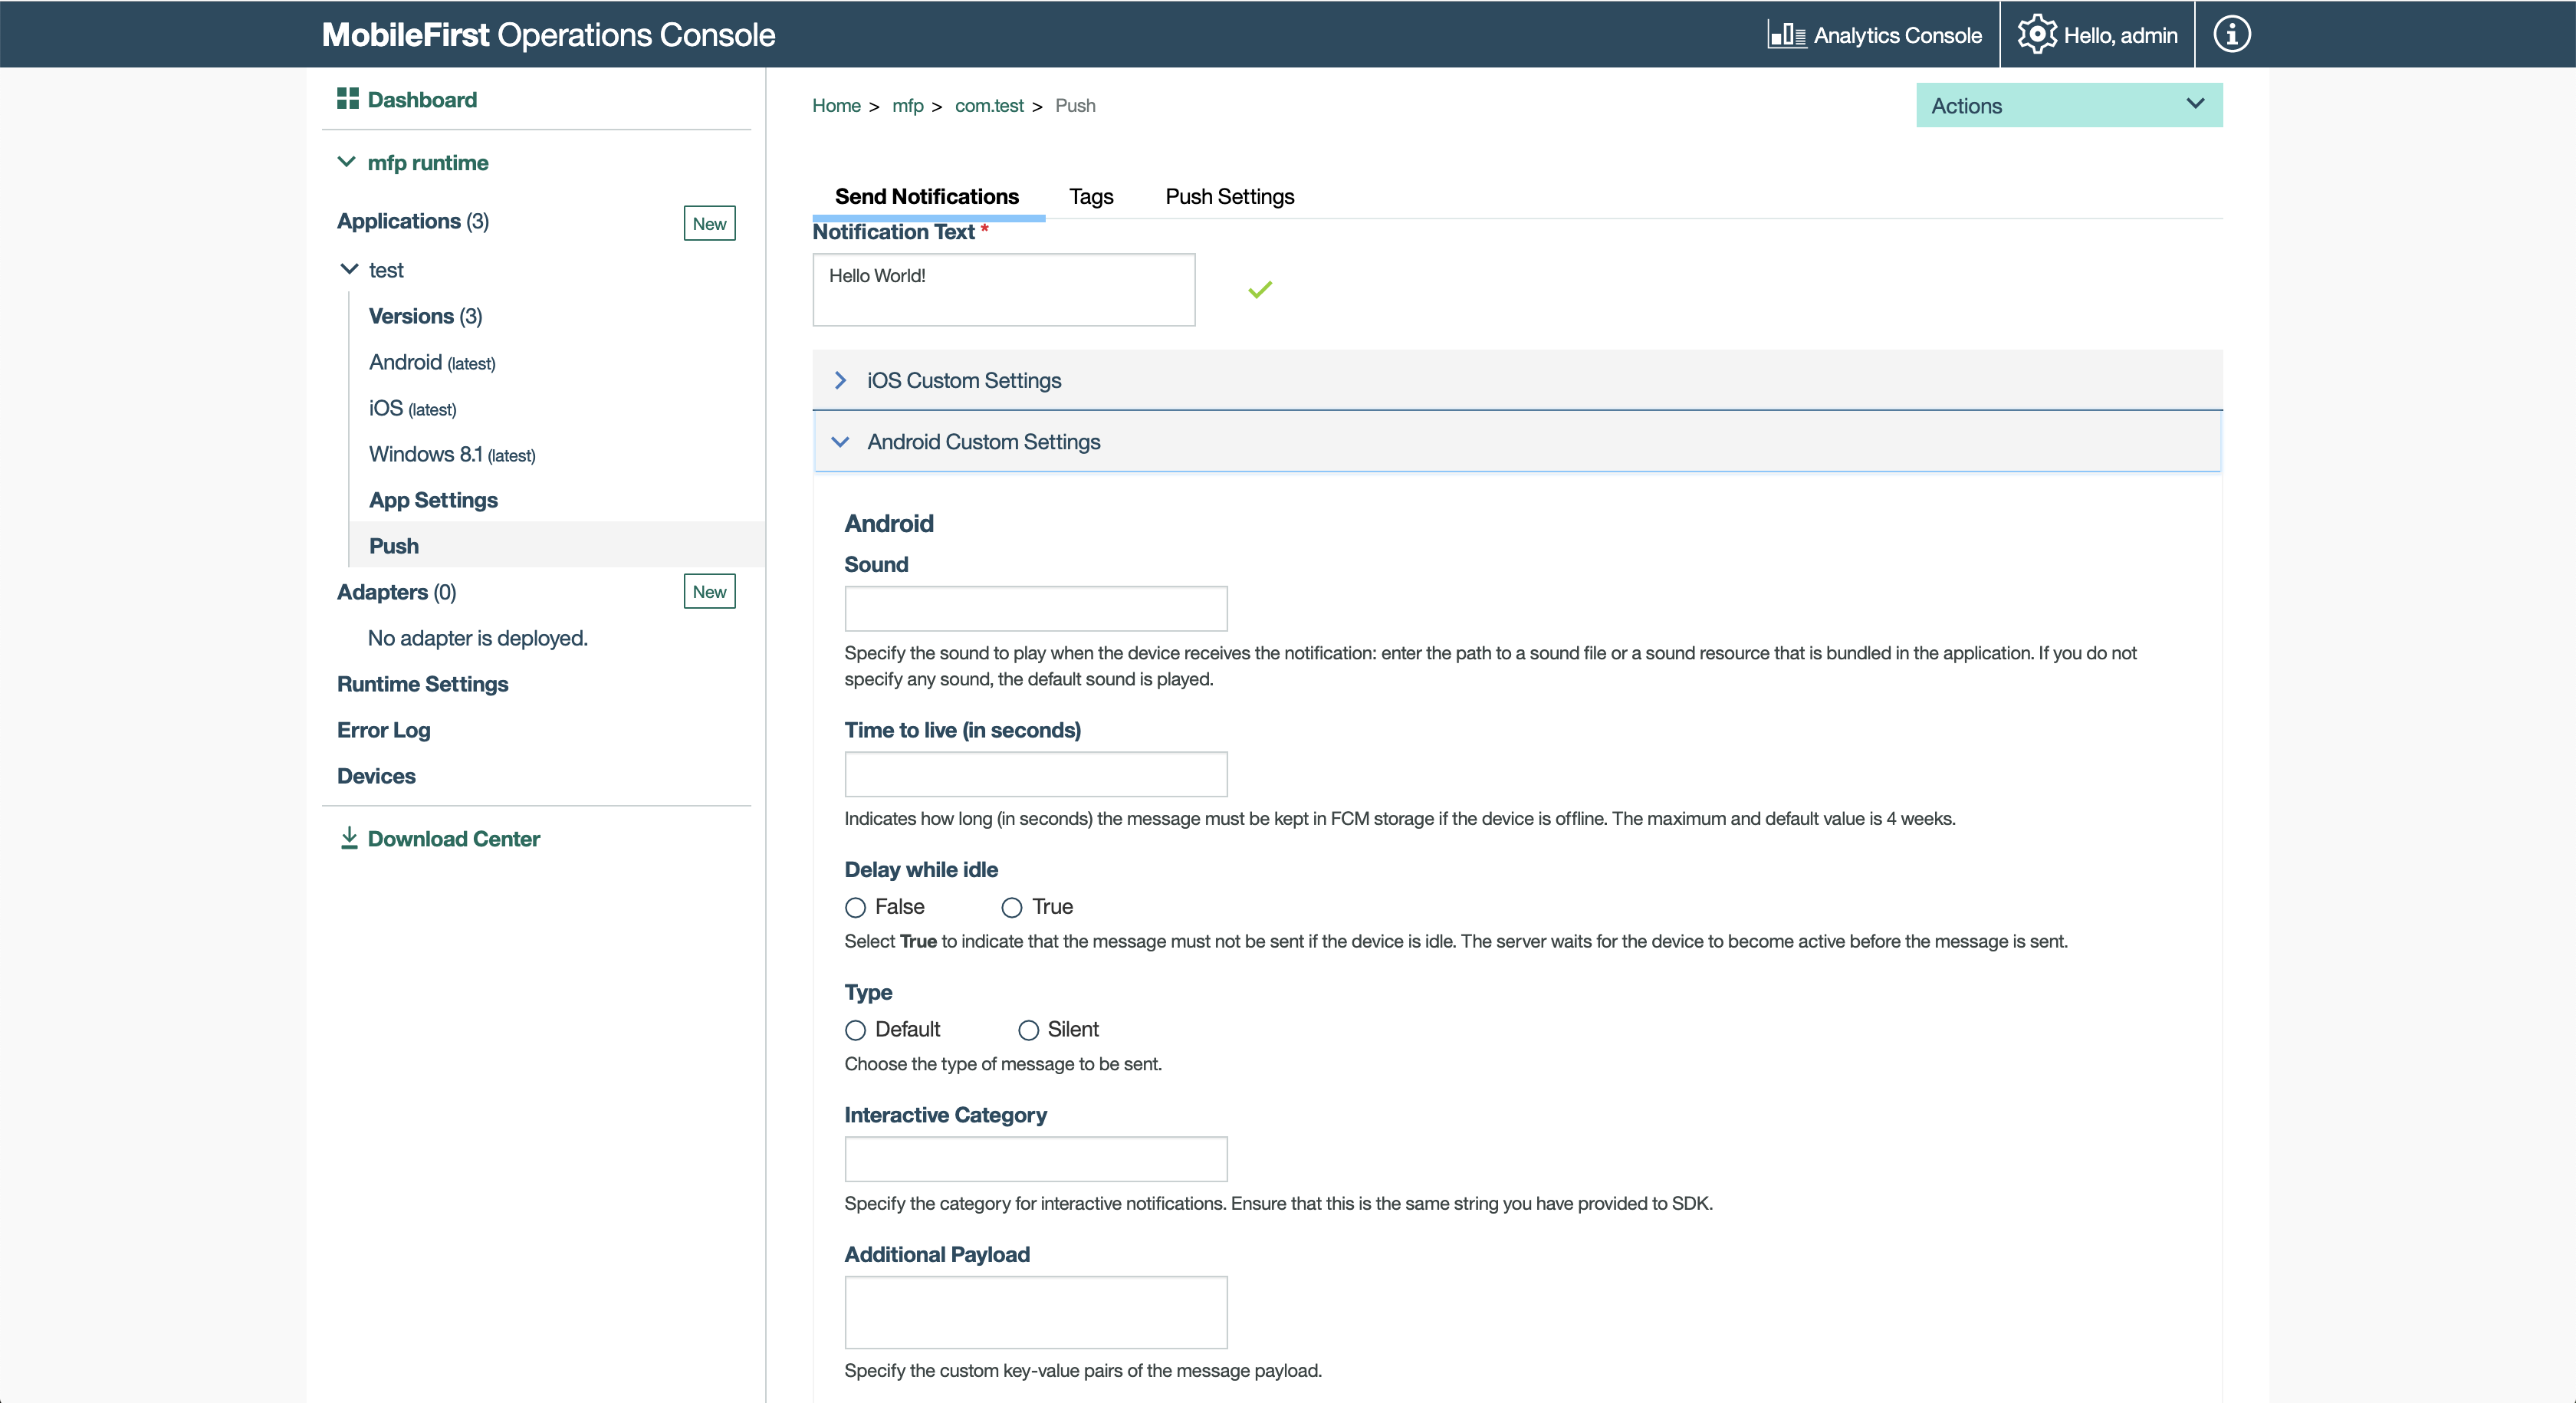
To send interactive notifications to Android devices specify the interactive category identifier under MobileFirst Operations Console → [your application] → Push → Send Notifications → Android custom settings . For example:
Handling interactive push notifications in Cordova applications
To receive interactive notifications, follow these steps:
-
In the main JavaScript, define the registered categories for interactive notification and pass it to device register call
MFPPush.registerDevice.var options = { ios: { alert: true, badge: true, sound: true, categories: [{ //Category identifier, this is used while sending the notification. id : "poll", //Optional array of actions to show the action buttons along with the message. actions: [{ //Action identifier id: "poll_ok", //Action title to be displayed as part of the notification button. title: "OK", //Optional mode to run the action in foreground or background. 1-foreground. 0-background. Default is foreground. mode: 1, //Optional property to mark the action button in red color. Default is false. destructive: false, //Optional property to set if authentication is required or not before running the action.(Screen lock). //For foreground, this property is always true. authenticationRequired: true }, { id: "poll_nok", title: "NOK", mode: 1, destructive: false, authenticationRequired: true }], //Optional list of actions that is needed to show in the case alert. //If it is not specified, then the first four actions will be shown. defaultContextActions: ['poll_ok','poll_nok'], //Optional list of actions that is needed to show in the notification center, lock screen. //If it is not specified, then the first two actions will be shown. minimalContextActions: ['poll_ok','poll_nok'] }] } } -
Pass the
optionsobject while registering device for push notifications.MFPPush.registerDevice(options, function(successResponse) { navigator.notification.alert("Successfully registered"); enableButtons(); });
Handling interactive push notifications in native iOS applications
Follow these steps to receive interactive notifications:
- Enable the application capability to perform background tasks on receiving the remote notifications. This step is required if some of the actions are background-enabled.
-
Define registered categories for interactive notifications and pass them as options to
MFPPush.registerDevice.//define categories for Interactive Push let acceptAction = UIMutableUserNotificationAction() acceptAction.identifier = "OK" acceptAction.title = "OK" acceptAction.activationMode = .Foreground let rejetAction = UIMutableUserNotificationAction() rejetAction.identifier = "Cancel" rejetAction.title = "Cancel" rejetAction.activationMode = .Foreground let category = UIMutableUserNotificationCategory() category.identifier = "poll" category.setActions([acceptAction, rejetAction], forContext: .Default) let categories:Set<UIUserNotificationCategory> = [category] let options = ["alert":true, "badge":true, "sound":true, "categories": categories] // Register device MFPPush.sharedInstance().registerDevice(options as [NSObject : AnyObject], completionHandler: {(response: WLResponse!, error: NSError!) -> Void in
Inclusive terminology note: The Mobile First Platform team is making changes to support the IBM® initiative to replace racially biased and other discriminatory language in our code and content with more inclusive language. While IBM values the use of inclusive language, terms that are outside of IBM's direct influence are sometimes required for the sake of maintaining user understanding. As other industry leaders join IBM in embracing the use of inclusive language, IBM will continue to update the documentation to reflect those changes.