API Connect
improve this page | report issueOverview
This tutorial will cover how to create an API using IBM API Connect and how to expose it to your mobile application using IBM MobileFirst Platform Foundation. For this we will create a Model and a Data Source using a IBM API Connect and expose it to mobile applications via a MobileFirst HTTP Adapter.
References
This tutorials will explore information that is explained with more details at the following documentation topics:
Benefits of using MobileFirst with API Connect
The main advantage of integrating IBM API Connect with MobileFirst Platform Foundation is to allow you to leverage the MobileFirst Security Framework focused on mobile applications, and IBM API Connect’s straightforward approach to create, run, manage and secure your APIs.
IBM API Connect Overview
For MobileFirst Server, IBM API Connect works as an enterprise backend when you want to build an integration between these two products. This is the use case that will explored in this tutorial.

IBM API Connect
Setup IBM API Connect toolkit
For this tutorial, the IBM API Connect developer toolkit will simulate an API Connect Micro Gateway for local testing.
More information on how to install API connect, can be found in this user documentation topic guide.
Prerequisites: The setup is based on nodeJS, NPM and Python installed. For more information see here.
Installing the toolkit
#optional step if you want to handle non-trusted certificates
npm config -g set strict-ssl false
#optional step, if you have a proxy on your network
npm config set proxy http://proxy_address:port
npm config set https-proxy http://proxy_address:port

#(mandatory step)
npm install -g apiconnect

#(alternative install) If you have a your own IBM API Connect cloud:
npm install -g --unsafe-perm https://appliance/packages/apiconnect

#To validate the install
apic -v
APIC is now available to be used in your machine.
Creating an API
Using IBM API Connect toolkit you can explore two ways to create your APIs:
For this tutorial we will explore the approach via command line. API Designer can acheive the same result.
Creating the LoopBack project
Create a project. For more details see here:
#Create a loopback project
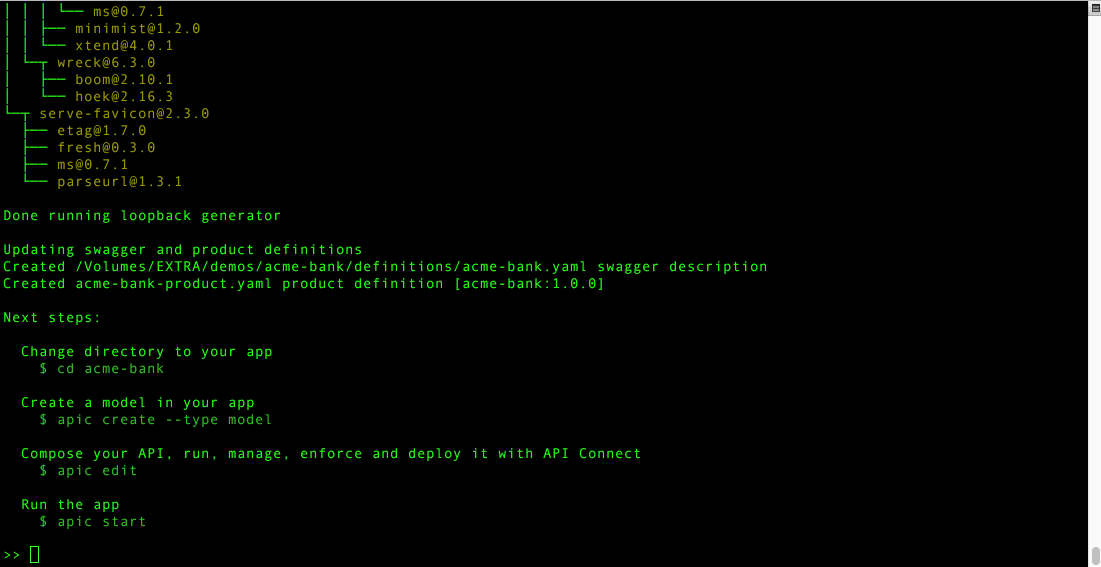
apic loopback acme-bank
#At the question: "? What's the name of your application? "
# Just press "enter" and a default value will be used
#At the question: "? Enter name of the directory to contain the project:"
# Just press "enter" and a default value will be used
#At the question: "? What kind of application do you have in mind? (Use arrow keys)"
# Select with the arrows
# ❯ empty-server (An empty LoopBack API, without any configured models or datasources)

The above creates a new folder your recently created project.
The next step is to create an API on this project. This process is done in two steps:
-
add a data source to a project: Data source is how we will store data at your API. IBM API Connect provide a set of pre-made datasources to help you with the integration with several type of backends, for example: In-memory db, Email, MySQL, PostgreSQL and others.
-
add a model to a project: Model is the representation of the API for the consumers of the API, here is where you can define the properties that will be exposed to your users on this API.
Creating a data source
Create the API (Data source and Model). For more details visit this page.
#enter in your just created project folder
cd acme-bank
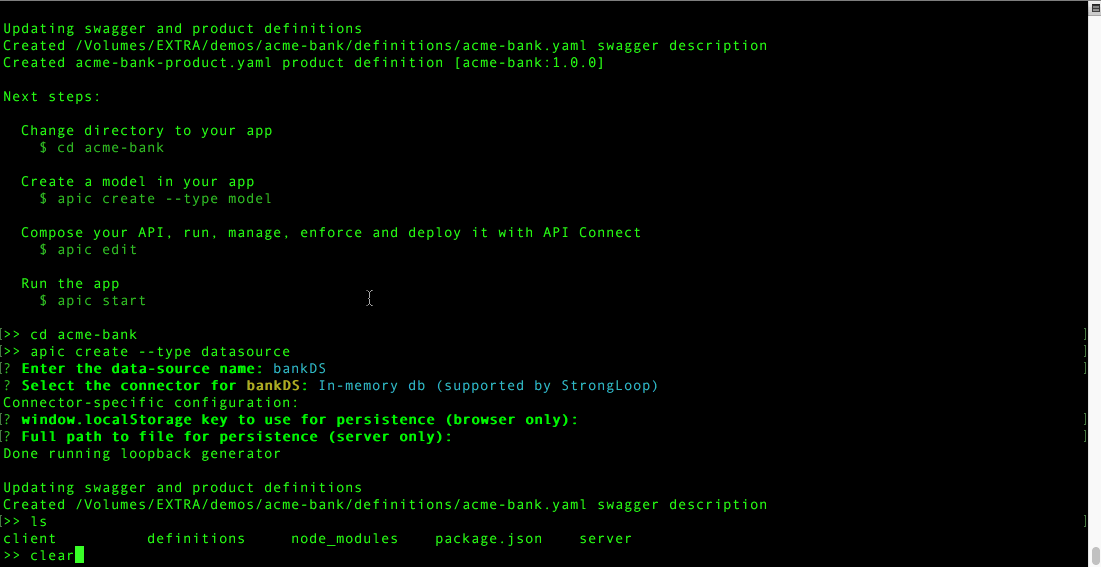
apic create --type datasource
## At the question: ? Enter the data-source name:
# type:
bankDS
# type and press Enter
## At the question: ? Select the connector for your data source: (Use arrow keys)
❯ In-memory db (supported by StrongLoop)
# select and press Enter
## At the question: ? window.localStorage key to use for persistence (browser only):
# Just press Enter
## At the question: ? Full path to file for persistence (server only):
# Just press Enter
# the result is a file "server/datasources.json" with the definition of your datasource.
Once the datasource creation is complete, it will use an in-memory database to store a set of bank Branches.
Creating a model
Define the data that will be stored on the data source defined previously.
apic create --type model
## At the question: ? Enter the model name:
branch
#type and press Enter
## At the question: ? Select the data-source to attach item to: (Use arrow keys)
❯ bankDS (memory)
#Select and press Enter
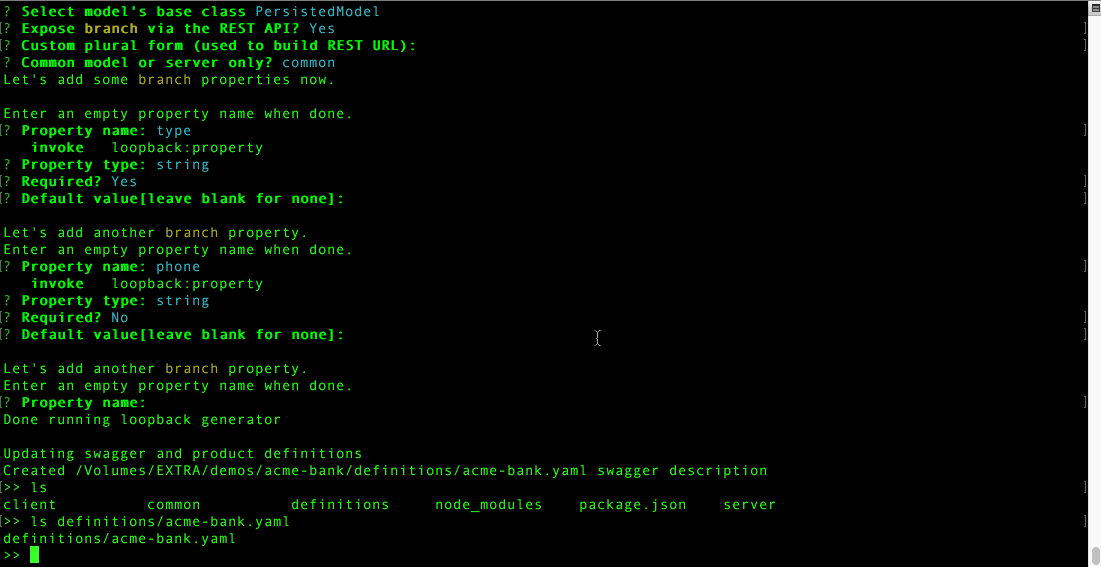
## At the question: ? Select model's base class (Use arrow keys)
❯ PersistedModel
## At the question: ? Expose branch via the REST API? (Y/n)
# Just press Enter - Default is "yes"
## At the question: ? Custom plural form (used to build REST URL):
# Just press Enter - It will be used the Default
## At the question: ? Common model or server only? (Use arrow keys)
# Just press Enter - It will be used the Default(common)
#Adding properties
## At the question: ? Property name:
type
#type and press Enter
## At the question: ? Property type: (Use arrow keys)
❯ string
## At the question: ? Required? (y/N)
y
## At the question: ? Default value [leave blank for none]:
# Just press Enter
## At the question: ? Property name:
phone
# type and Just press Enter
## At the question: ? Property type: (Use arrow keys)
❯ string
# Select and Just press Enter
## At the question: ? Required? (y/N)
n
## At the question: ? Default value [leave blank for none]:
# Just press Enter
# type and Just press Enter
# then to exit the edit mode jus press Enter whe prompeted again
# ? Property name:
# Just press Enter
You now have a model that has two properties: type and phone. These are the current properties that defines a bank branch for this example.
Checking what was created
Use API Desginer to see what we just created. API Designer is very useful user interface to allow you to create, edit and test your API.
#At your project type:
apic edit
#login with your IBM Cloud account
Open a new terminal window and go to the project folder. Start a test server to explore the API:
cd <project_home>/acme-bank
#start server listener
apic start

#Let's test the API - usally the addres will be localhost:4002
curl --request POST \
  --url https://localhost:4002/api/branches \
  --header 'accept: application/json' \
  --header 'content-type: application/json' \
  --header 'x-ibm-client-id: default' \
  --header 'x-ibm-client-secret: SECRET' \
  --data '{"type":"minima"}' -k

# use -k option on curl to avoid security errors
# -v of curl provided a more verbose result
Observe that the API is protected by x-ibm-client-id and x-ibm-client-secret.
MobileFirst Server integration
Use a MobileFirst Javascript HTTP Adapter to call the API you just created. In a production environment the way to call it would be the same, only pointing to a different URL for the production server with IBM API Connect.
Using the API on MobileFirst (via CLI)
Use CLI to create an App and add an HTTP adapter to expose to your mobile apps, the API we just created.
#create your mfp project
mfp create demoApic
cd demoApic
#create an adapter
mfp add adapter MyBankAdapter --type http
Replace the content of your file ”./adapters/MyBankAdapter/MyBankAdapter-impl.js” by the following content in the text editor of your choice:
<?xml version="1.0" encoding="UTF-8"?>
<!--
    Licensed Materials - Property of IBM
    5725-I43 (C) Copyright IBM Corp. 2011, 2020. All Rights Reserved.
    US Government Users Restricted Rights - Use, duplication or
    disclosure restricted by GSA ADP Schedule Contract with IBM Corp.
-->
<wl:adapter name="MyBankAdapter"
	xmlns:xsi="http://www.w3.org/2001/XMLSchema-instance"
	xmlns:wl="http://www.ibm.com/mfp/integration"
	xmlns:http="http://www.ibm.com/mfp/integration/http">

	<displayName>MyBankAdapter</displayName>
	<description>MyBankAdapter</description>
	<connectivity>
		<connectionPolicy xsi:type="http:HTTPConnectionPolicyType">
			<protocol>https</protocol>
			<domain>localhost</domain>
			<port>4002</port>
			<connectionTimeoutInMilliseconds>30000</connectionTimeoutInMilliseconds>
			<socketTimeoutInMilliseconds>30000</socketTimeoutInMilliseconds>
			<maxConcurrentConnectionsPerNode>50</maxConcurrentConnectionsPerNode>
			<!-- Following properties used by adapter's key manager for choosing specific certificate from key store
			<sslCertificateAlias></sslCertificateAlias>
			<sslCertificatePassword></sslCertificatePassword>
			-->
		</connectionPolicy>
	</connectivity>

	<procedure name="createBranch"/>
</wl:adapter>
Do the same for the file ./adapters/MyBankAdapter/MyBankAdapter-impl.js, with the following:
/*
 *  Licensed Materials - Property of IBM
 *  5725-I43 (C) Copyright IBM Corp. 2011, 2020. All Rights Reserved.
 *  US Government Users Restricted Rights - Use, duplication or
 *  disclosure restricted by GSA ADP Schedule Contract with IBM Corp.
 */


function createBranch(id, key, type) {
	path = "/api/branches";

	var input = {
	    method : 'get',
	    returnedContentType : 'json',
	    path : path,
			headers: {
				"x-ibm-client-id": id,
				"x-ibm-client-secret": key
            },
			body: {
        content: {"type":type},
        contentType: 'application/json; charset=utf-8'
    }
	};
	return WL.Server.invokeHttp(input);
}
To test this code, push the update and call the adapter:
# start your cli server
mfp start
mfp push
mfp adapter call MyBankAdapter/createBranch [\"default\",\"SECRET\",\"all\"]
This would create a branch in your test server, if all works fine you receive the response code 200.
Attention
If you get the following error:
Runtime: Http request failed: javax.net.ssl.SSLHandshakeException: sun.security.validator.ValidatorException: PKIX path building failed: sun.security.provider.certpath.SunCertPathBuilderException: unable to find valid certification path to requested target
That is because you need to import the SSL certificate from your IBM API Connect server to MobileFirst Foundation server, for details take a look at Importing SSL Certificate
Final Notes
In this tutorial, you completed the following activities:
API Connect
- Installed IBM API Connect developer toolkit
- Created an IBM API Connect project
- Added a data source to your project using the command-line tool
- Added a model to your project using the command-line tool
MobileFirst Foundation
- Created a MobileFirst Application project
- Added a MobileFirst Adapter that calls your API
- Tested the MobileFirst Adapter using the MobileFirst command-line
Inclusive terminology note: The Mobile First Platform team is making changes to support the IBM® initiative to replace racially biased and other discriminatory language in our code and content with more inclusive language. While IBM values the use of inclusive language, terms that are outside of IBM's direct influence are sometimes required for the sake of maintaining user understanding. As other industry leaders join IBM in embracing the use of inclusive language, IBM will continue to update the documentation to reflect those changes.