Xamarin 端到端演示
improve this page | report issue
概述
本演示的目的是展示端到端流程:
- 在 MobileFirst Operations Console 中注册与 MobileFirst Xamarin 客户机 SDK 捆绑的样本应用程序。
- 将新的或提供的适配器部署到 MobileFirst Operations Console。
- 应用程序逻辑更改为发出资源请求。
最终结果:
- 成功 ping MobileFirst Server。
先决条件:
- Xamarin Studio
- 可选。 单机MobileFirst Server(下载)
1. 启动 MobileFirst Server
确保您已创建 Mobile Foundation 实例,或者
如果使用 MobileFirst Developer Kit,请导航至服务器的文件夹并运行命令 ./run.sh(在 Mac 和 Linux 中)或 run.cmd(在 Windows 中)。
2. 创建应用程序
在浏览器窗口中,通过加载以下 URL 打开 MobileFirst Operations Console:http://your-server-host:server-port/mfpconsole。 如果是本地运行,请使用:http://localhost:9080/mfpconsole。 用户名/密码为 admin/admin。
- 单击应用程序旁的新建按钮
- 选择 Android 平台
- 将 com.ibm.mfpstarterxamarin 输入为应用程序标识(取决于您在下一步中下载的应用程序框架)
- 将 1.0 输入为版本值
- 单击注册应用程序
3. 编辑应用程序逻辑
- 创建一个 Xamarin 项目。
- 按添加 SDK 教程中所述添加 Xamarin SDK。
-
按如下所示,在任何类文件中添加一个类型为
IWorklightClient的属性。/// <summary> /// Gets or sets the worklight sample client. /// </summary> /// <value>The worklight client.</value> public static IWorklightClient WorklightClient {get; set;} -
如果您正在 iOS 环境下进行开发,请将以下代码粘贴到 AppDelegate.cs 文件的 FinishedLaunching 方法中:
<ClassName>.WorklightClient = WorklightClient.CreateInstance();将
<ClassName>替换为您的类名。 -
如果您正在 Android 环境下进行开发,请在 MainActivity.cs 文件的 OnCreate 方法中包含以下代码行:
<ClassName>.WorklightClient = WorklightClient.CreateInstance(this);将
<ClassName>替换为您的类名。 -
定义一个方法来获取访问标记并向 MFP Server 发出资源请求,如下所示。
public async void ObtainToken() { try { IWorklightClient _newClient = App.WorklightClient; WorklightAccessToken accessToken = await _newClient.AuthorizationManager.ObtainAccessToken(""); if (accessToken.Value != null && accessToken.Value != "") { System.Diagnostics.Debug.WriteLine("Received the following access token value: " + accessToken.Value); StringBuilder uriBuilder = new StringBuilder().Append("/adapters/javaAdapter/resource/greet"); WorklightResourceRequest request = _newClient.ResourceRequest(new Uri(uriBuilder.ToString(), UriKind.Relative), "GET"); request.SetQueryParameter("name", "world"); WorklightResponse response = await request.Send(); System.Diagnostics.Debug.WriteLine("Success: " + response.ResponseText); } } catch (Exception e) { System.Diagnostics.Debug.WriteLine("An error occurred: '{0}'", e); } } } } - 在类构造函数中调用 ObtainToken 方法,或者通过单击某个按钮来调用。
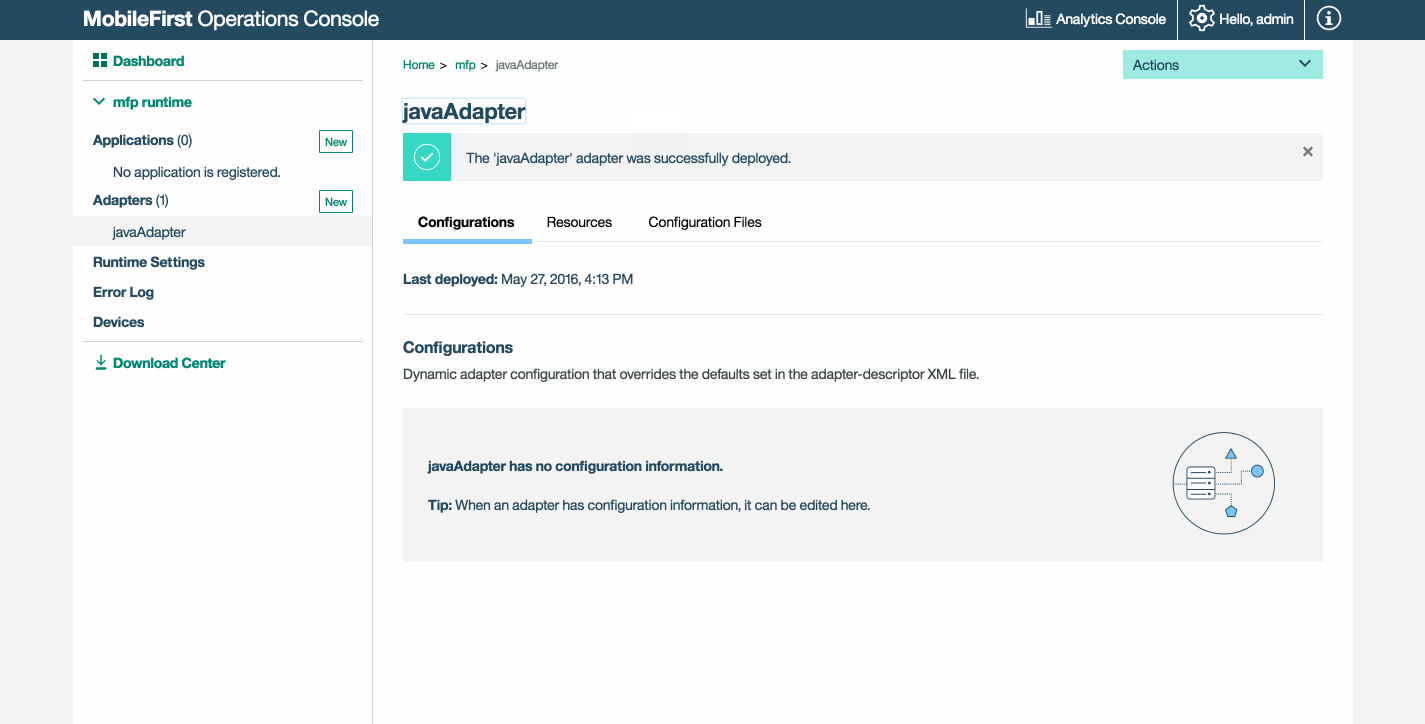
4. 部署适配器
下载这一准备好的适配器工件,并通过操作 → 部署适配器操作从 MobileFirst Operations Console 进行部署。
或者,单击适配器旁边的新建按钮。
-
选择操作 → 下载样本选项。 下载“Hello World”Java 适配器样本。
如果未安装 Maven 和 MobileFirst CLI,请遵循屏幕上的设置开发环境指示信息。
-
从命令行窗口中,导航至适配器的 Maven 项目根文件夹并运行以下命令:
mfpdev adapter build -
构建完成时,通过操作 → 部署适配器操作从 MobileFirst Operations Console 进行部署。 适配器可在 [adapter]/target 文件夹中找到。
5. 测试应用程序
- 在 Xamarin Studio 中,选择
mfpclient.properties文件并将 protocol、host 和 port 属性编辑为针对 MobileFirst Server 的正确的值。- 如果使用本地 MobileFirst Server,这些值通常是 http、 localhost 和 9080。
- 如果使用远程 MobileFirst Server(在 IBM Cloud 中),这些值通常是 https、your-server-address 和 443。
- 如果要在 IBM Cloud Private 上使用 Kubernetes 集群并且如果部署的类型为 NodePort,那么端口的值通常为 Kubernetes 集群中服务公开的 NodePort。
- 按播放按钮。
结果
- 单击 Ping MobileFirst Server 按钮将显示已连接到 MobileFirst Server。
- 如果应用程序能够连接到 MobileFirst Server,那么将使用部署的 Java 适配器进行资源请求调用。
然后,适配器响应将列显在 Xamarin Studio 控制台中。

后续步骤
要了解有关在应用程序中使用适配器,如何集成附加服务(如推送通知),使用 MobileFirst 安全框架及其他内容的更多信息,请:
▲Inclusive terminology note: The Mobile First Platform team is making changes to support the IBM® initiative to replace racially biased and other discriminatory language in our code and content with more inclusive language. While IBM values the use of inclusive language, terms that are outside of IBM's direct influence are sometimes required for the sake of maintaining user understanding. As other industry leaders join IBM in embracing the use of inclusive language, IBM will continue to update the documentation to reflect those changes.